If you’re looking for a way to make your removable doll bed mattress without putting in a zipper, we’ve got you covered! Try this easy envelope-style technique for making the mattress in your Snug As A Bug Collection: Twin Bed pattern!

How To Make a No-Zipper Doll Bed Mattress
Supplies Needed
• Fabric – 1/2 yard fabric (cotton, pre-quilted cotton, muslin, broadcloth, ticking)
• 1 inch thick upholstery foam – enough for one 7×16-inch piece
• Approximately 8 feet of bias tape maxi piping (optional)
• Thread
• Snug As A Bug Collection: Twin Bed pattern by AptOne8
Tools Needed
• Sewing pins
• Sewing machine
• Iron
Instructions
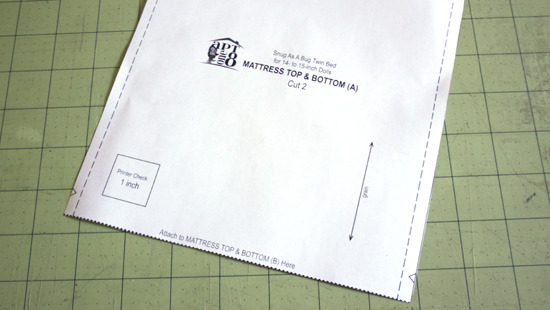
1. Print out or trace an extra copy of your MATTRESS TOP & BOTTOM (A) pattern piece from your Snug As A Bug Collection: Twin Bed pattern by AptOne8. Do NOT attach the (B) section to this piece.
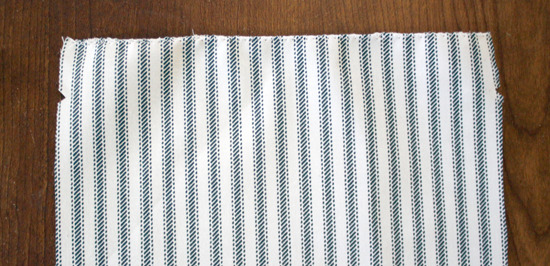
2. Pin and cut your fabric pieces, as directed in the pattern, making the following substitutions: Instead of cutting two MATTRESS TOP & BOTTOM pieces, cut just one using your original MATTRESS TOP & BOTTOM (A) pattern piece with attached (B) section. This is your MATTRESS TOP piece. In place of the second piece, cut two pieces using your new MATTRESS TOP & BOTTOM (A) piece without attached (B) section, using the original dotted line where you would have attached the (B) piece as your new cutting line. These will become your MATTRESS BOTTOM pieces. Cut two MATTRESS END pieces. (You will not need to cut the original two MATTRESS ZIPPERED END pieces.) Cut two MATTRESS SIDE pieces as directed in the original instructions.

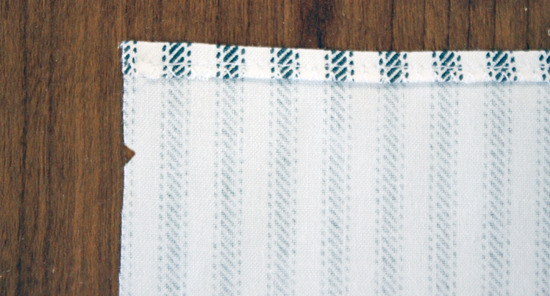
3. Zigzag the straight un-notched edge of each MATTRESS BOTTOM piece to finish the edges.
4. Fold the straight un-notched edge of each MATTRESS BOTTOM to the wrong side 1/4 inch and press.
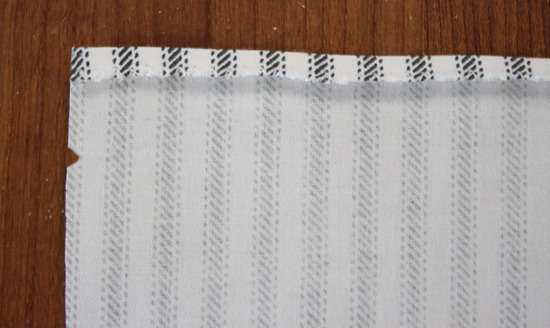
5. Stitch each piece close the inner finished (zigzagged) edge.
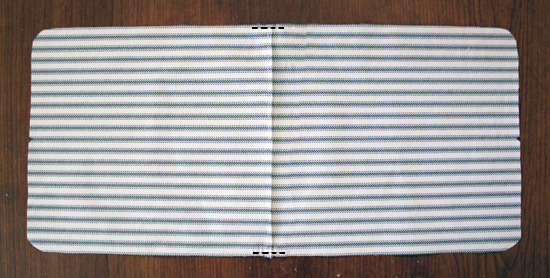
6. To attach your MATTRESS BOTTOM pieces to one another: Lay your MATTRESS TOP on the table. (You will be using this just for placement right now, so it doesn’t matter which side is up.) Lay one of the MATTRESS BOTTOM pieces on top of the MATTRESS TOP, right side up, matching notches. Place the other MATTRESS BOTTOM on the other end of the MATTRESS TOP, also right side up, overlapping the finished edges along the center and matching notches. Pin the MATTRESS BOTTOM layers only together where they are overlapped. Remove the MATTRESS TOP. Baste both MATTRESS BOTTOM layers to one another close to the outside edges, as shown.
7. Now you can make your mattress according to the original instructions, starting at Step 1 and using the new piece you just created as the MATTRESS BOTTOM. Skip Steps 4-11. Starting with Step 12, substitute a regular MATTRESS END for the ZIPPERED END described in the instructions.
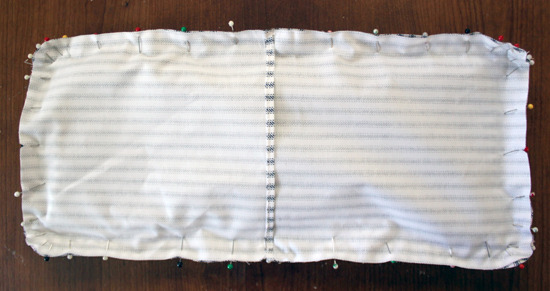
8. By the time you have completed Step 23, your MATTRESS should resemble the photo above. Trim seams to 1/8 inch, zigzag or serge to finish. Turn.
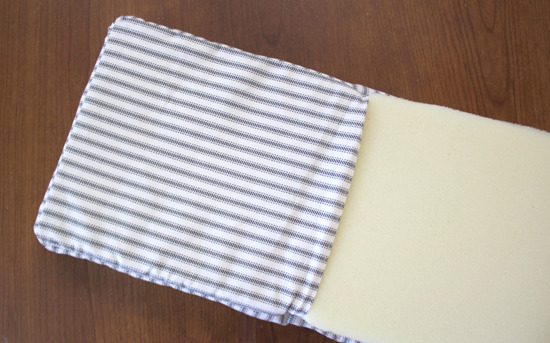
9. Measure and cut your upholstery foam as instructed in Step 26. To insert the foam into your MATTRESS COVER, first slide one end into the pocket created by the overlapping MATTRESS BACK pieces.
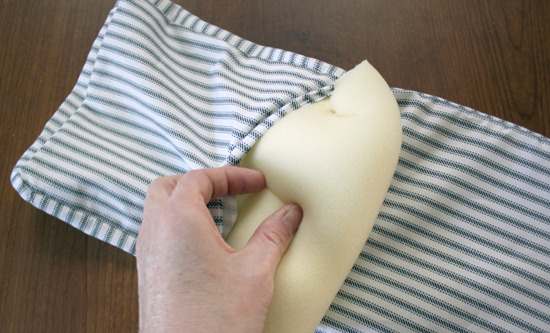
10. Fold the foam until you can slide the remaining end into the other side of the MATTRESS COVER.

Your no-zipper mattress is complete!

Interested in making furniture for your doll? Check out our AptOne8 PVC doll furniture plans…
Matilda’s Closet and AptOne8 are not affiliated with American Girl® or Mattel®. No endorsement is implied.
Maybe I am missing something, but I can’t find the actual pattern pieces to print for the mattress cover.
This tutorial offers an alternate way of finishing the mattress cover made with the Snug As A Bug Collection: Twin Bed pattern. The pattern pieces used are all found in that pattern, which is available for purchase in our shop here: https://clubmatilda.com/product/cpvc-plans-snug-as-a-bug-collection-twin-bed-pdf/.