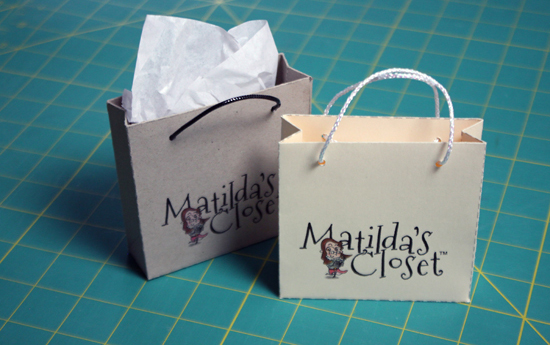
A back-to-school shopping trip is even more fun with a doll-sized bag to put all of your goodies in! Make one yourself using this quick and easy tutorial…
How to Make a Doll-Sized Shopping Bag
Supplies Needed
• One 8.5×11-inch sheet of cardstock or heavy paper
• Approximately 20 inches of string, yarn or cording
Tools Needed
• Clear acrylic quilting ruler or other straight edge
• Stylus or blunt needle
• Scissors
• Quick drying tacky glue
• Hole punch
Instructions
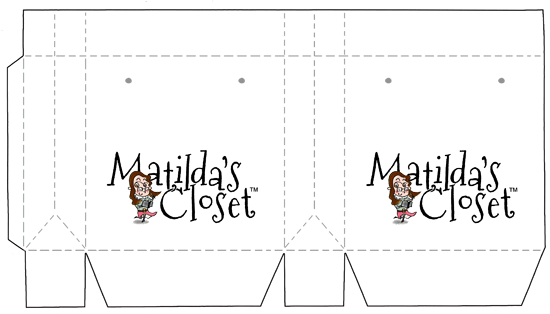
1. Download the printable Matilda’s Closet Shopping Bag PDF Template by clicking on the image below. Print the shopping bag template on 8.5×11-inch heavy paper or cardstock.
2. Cut out the shopping bag along the solid black lines. Do NOT cut any of the dashed gray lines. 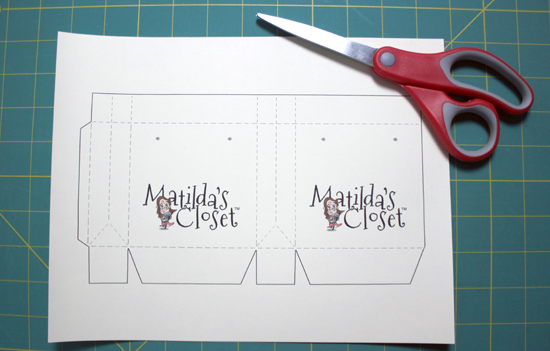
3. To create fold lines, score the shopping bag along all of the dashed gray lines using an acrylic quilting ruler and stylus (or other blunt tool). Make sure you push down hard enough to make an indent in the paper, but not so hard that you tear it. (Hint: go over each line two or three times to get a good indentation.) 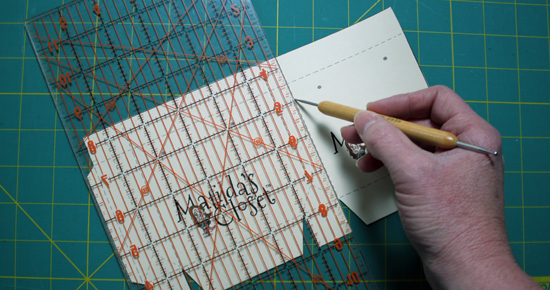
4. Begin shaping the shopping bag by first folding along the scored lines that form the four corners of the bag, as shown. The printed side of the shopping bag should be on the outside of the bag. 
5. Next, fold the bottom flaps of the bag. 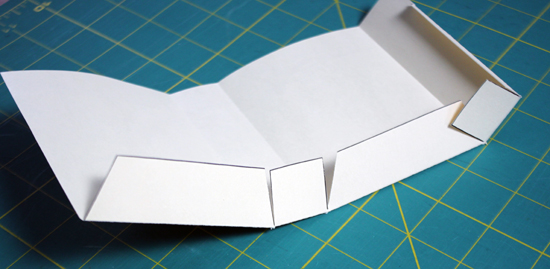
6. To shape the sides at the lower corners, gently pinch the bag from underneath where the score lines form a triangle. The side of the bag is folded inward toward the outside (printed side) of the bag. 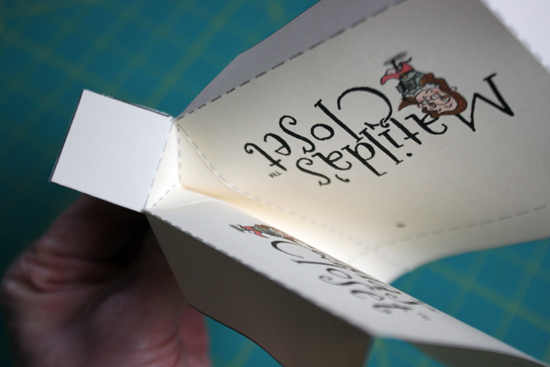
7. Open out the shopping bag and fold down the upper edge toward the inside of the bag. 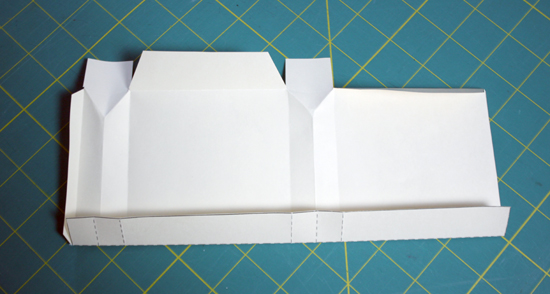
8. Punch holes for the handles on the front and back of the bag through both layers of cardstock at the dots. 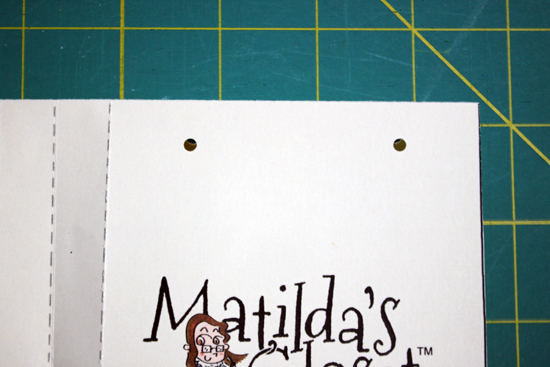
9. To assemble the shopping bag, apply a thin bead of quick-drying tacky glue along the tab on the outside (printed side) of the bag. 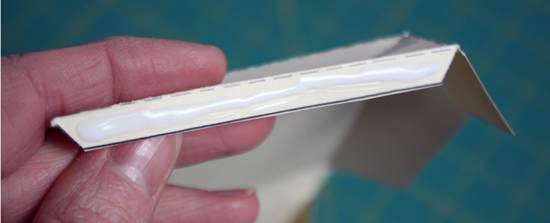
10. Glue the tab to the inside of the bag along the bag’s corner. Make sure you slide the tab inside the fold at the upper edge of the bag. 
11. Place a small amount of glue on the two shorter flaps on the bottom of the shopping bag. Keep the glue toward the bag center, as shown. 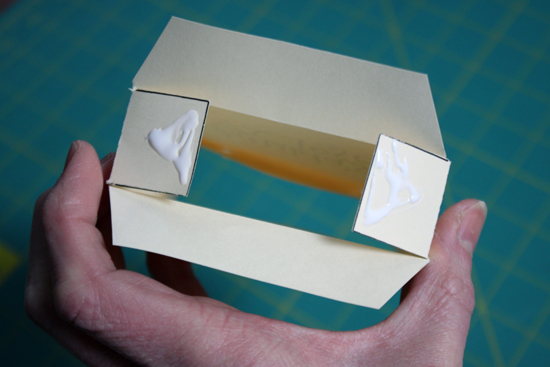
12. Fold one of the longer bottom flaps over onto the glued shorter flaps. Hold together until dry. 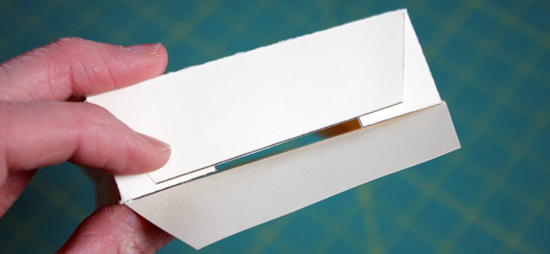
13. Add a thin layer of glue to the remaining bottom flap. Fold flap over and glue to the bottom of the bag. Hold in place until dry. 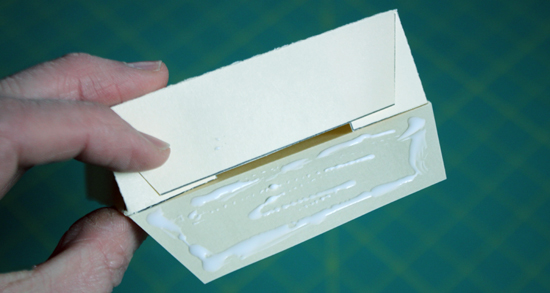
14. Cut two pieces of cording or string, each approximately 10 inches long. (Cut these a bit longer if you prefer longer bag handles.) Thread the cording through the holes on one side of the bag, starting on the inside and threading it through the hole toward the outside. Loop the cording across to the other hole and back through to the inside. Pull the cording all the way through the holes until the ends are even. 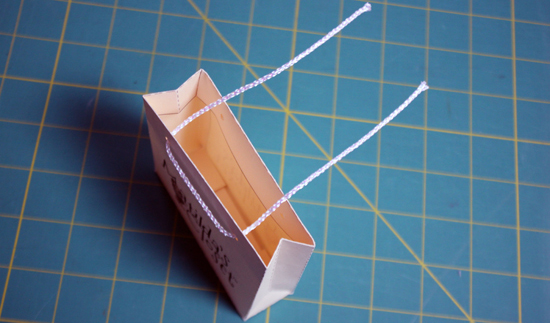
15. Knot the ends of the cording together close to the end. 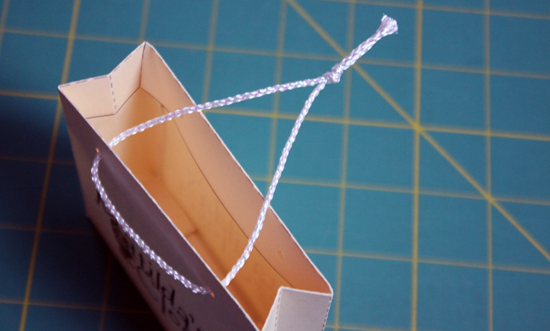
16. Repeat to attach the remaining handle, knotting the cord at the same distance as the first handle. Trim cording close to the knot (but not so close that it comes apart). 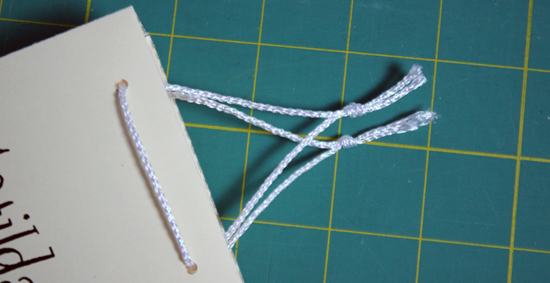
17. Gently pull the handles out until the knots are moved to the inside of the bag. 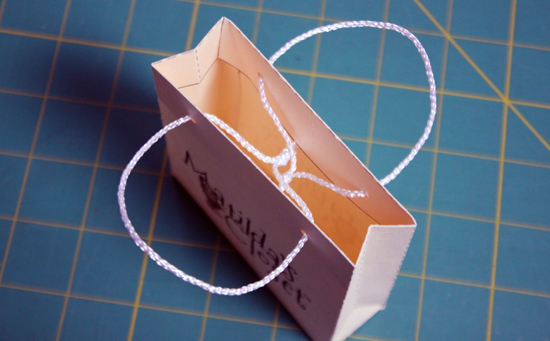
That’s it… You’re done!! Time to go shopping!!

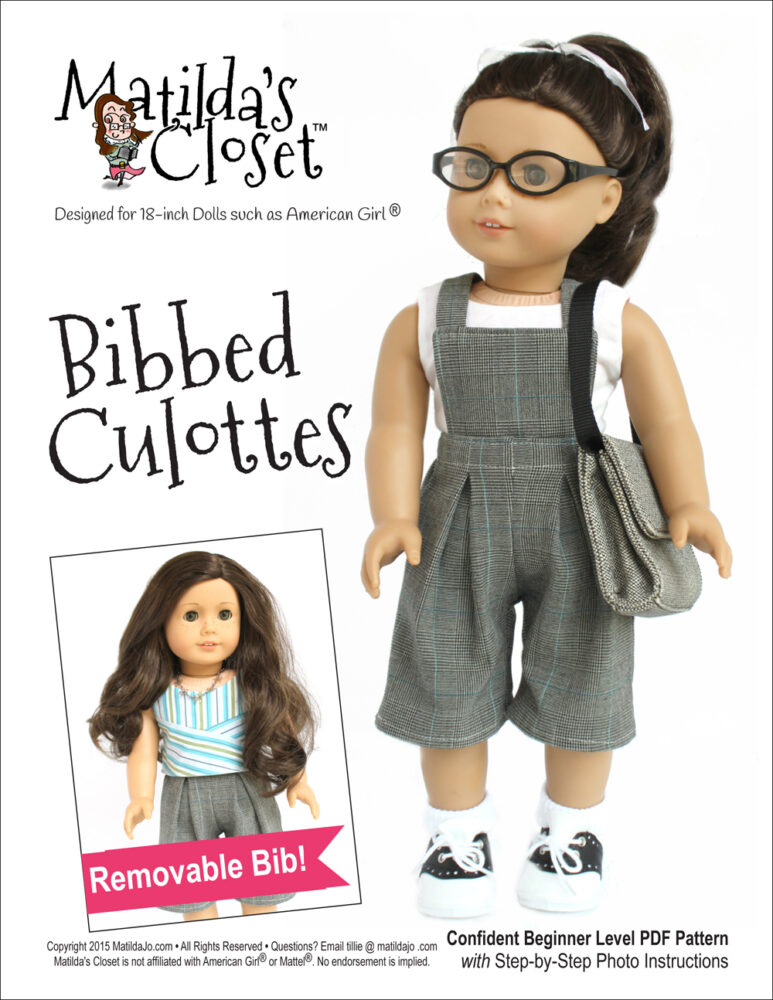
Need some fun new clothes to put in your bag? Check out our new back-to-school pattern…
Matilda’s Closet is not affiliated with American Girl® or Mattel®. No endorsement is implied.
Totally cute! Thank you so much. As in the midst of making a wardrobe of garments for my Grand Daughter’s new BOY doll, I just completed making a bag however since boys like to shop as well I changed the logo to read the GAP by using my computer photo editing program …. . -Brenda-
P.S.: For those who are interested in doing so; the white lettering will not show up if done on a dark blue background/card stock. To eliminate the problem; a) you can either print and cut the logo out and glue it to matching cardstock or b) using your computer editing program; position a matching colour block of blue on the pattern itself (the sides and tabs) then top it off with the logo and print it off. (Hope the latter makes sense.)
Awesome ! Made a template, then did a few in pastel cardstock, and one in heavy scrapbook paper. Adorable ! Thanks for the tutorial and pattern !
Oh, and I forgot – also made a template for a rectangle of cardboard, to go in the bag bottom. Extra stability ! Used some of the cardstock cutaway for the bottom piece.
Wow! You’ve been busy! Glad you’re having fun with it… thanks for letting us know! 🙂
This is too cute! It would be neat to print with pattern paper on the inside. Thank you.
What a great idea Vickie! I might have to try that… thanks for the suggestion!! 🙂