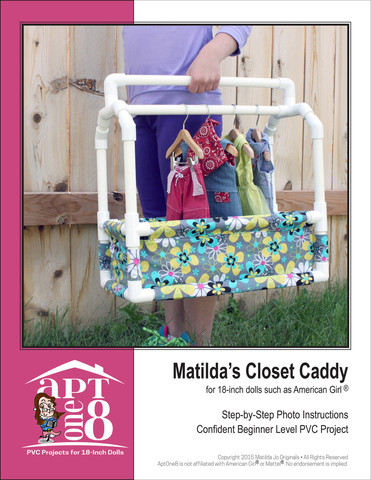
Create a carry-along doll clothing closet from PVC pipe for storing your doll's favorite outfits, complete with extra space to stash shoes, hats, purses and other favorite accessories!
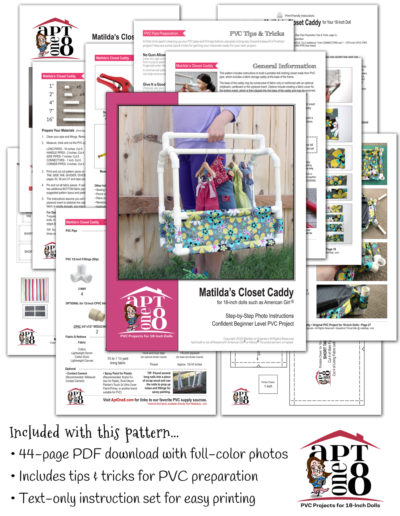
This PDF project plan includes instructions for building a lightweight, easy-to-carry, free-standing closet from PVC pipe. The 18-inch hanging rod provides ample room to hang several outfits using doll-sized hangers that fit a 1/2-inch rod. Instructions are also included to adapt the frame to fit hangers requiring a slightly smaller rod diameter by substituting CPVC pipe for the hanging rod.
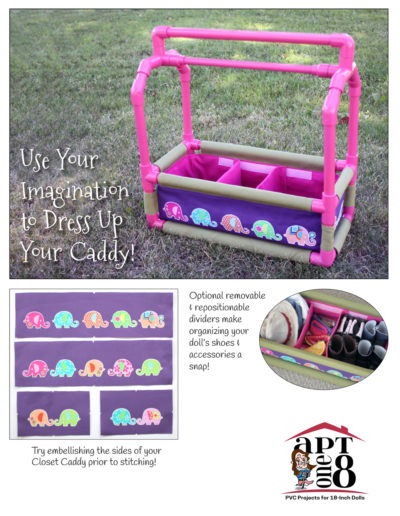
In addition to the closet frame, instructions include pattern pieces and step-by-step photos to guide the confident beginning sewist through construction of the fabric caddy at the base of the closet. Options include a separate base insert to lend stability, as well as a sewn-in, "invisible" version for the more advanced sewist. Also included are optional dividers attached with hook-and-loop tape. Make as few or as many dividers as you wish and rearrange them in whatever manner works best to organize all of your doll's essentials!
Matilda's Closet Caddy would make a handy display tool for craft fairs and trade shows, as well as a great gift for the doll-lovers in your life!
Get inspired by these samples made by our Team Tillie Testers!
[modula id="34040"]
CADDY FRAME:
– Two 10-foot Schedule 40 rigid 1/2-inch PVC pipes (cut pieces total approximately 16 feet, not accounting for waste).
– PVC 1/2-inch fittings (slip): four 3-ways, six 4-ways, 8 elbows (45°), 2 elbows (90°)
– Optional CPVC hanger rod substitution (for smaller size hangers): 12 3/4 inches almond color CPVC CTS 1/2-inch pipe, two 3/4×1/2-inch CPVC reducing coupler fittings
– Optional: sandpaper (medium and fine grit), spray paint for plastic, contact cement
CADDY:
– 2/3 yard main fabric (cotton, lightweight denim, cotton duck, lightweight canvas) for caddy exterior
– 2/3 to 1 1/3 yards fabric (cotton, lightweight denim, cotton duck, lightweight canvas) for lining and optional caddy dividers
– For optional caddy dividers: 40 inches of 3/4-inch hook-and-loop tape
– For optional base insert: chipboard, cardboard or 1/8-inch plywood (approximately 12×16 inches)
– Thread
TOOLS:
– Small handheld PVC pipe cutter, hacksaw or miter saw
– Measuring tape or yardstick
– Pliers
– Sewing machine
– Rubber mallet
– T-square
– Box cutter or X-ACTO knife
– Self-healing mat
Need help finding PVC project supplies? Check out our Recommended PVC & CPVC Suppliers list for links to our favorite sources!
• Basic measurement
• PVC cutting using a handheld PVC pipe cutter or hand saw
• Confident beginner-level machine sewing
Base Caddy: 18 in. long x 9 1/4 inches wide x 6 inches tall
Overall: 18 inches long x 9 1/4 inches wide x 18 1/2 inches tall
You must be logged in to post a review.
Matilda Jo Originals, including the brands Matilda’s Closet and AptOne8, is not affiliated with American Girl® or Mattel®. No endorsement is implied.


Customer Photos & Comments