Love to make your doll furniture as realistic as possible? Make a quick and easy “mock spring” (box spring) from PVC pipe for your Suite Dreams Collection bed! Use it as the first layer on your doll bed to add height and realism to your doll’s bedroom centerpiece. This tutorial utilizes pattern pieces from our AptOne8 Build-A-Bed pattern.
How to Make a Mock Spring
Materials Needed
• Approximately seven (7) feet (TWIN) to ten (10) feet (FULL) of 1/2-inch PVC pipe
• 1/2-inch PVC pipe fittings (slip): 6 TEES, four 90° ELBOWS and 2 CROSSES (Click here for a list of our favorite PVC suppliers.)
• Fabric – 2/3 (TWIN) to 3/4 (FULL) yards of cotton fabric. TIP: For added realism, use a double layer of sturdy sew-in interfacing instead of fabric for the MATTRESS TOP piece.
• Thread
• Glue sticks
Tools & Supplies Needed
• Small PVC pipe cutting tool
• Needle nose pliers (in case you need to separate tight fittings)
• Pencil or pen
• Measuring tape
• Fabric scissors
• Hot glue gun
• Sewing pins
• Sewing machine
• Iron & ironing board
• Rubber mallet
Instructions
Part One – Construct Your Mock Spring Frame
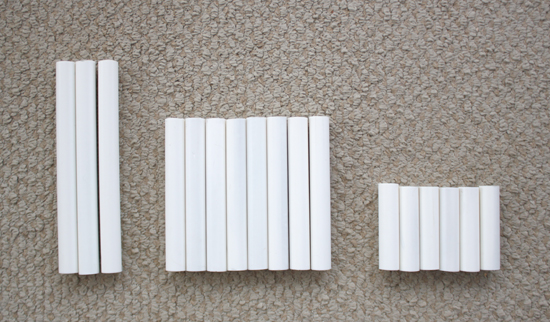
1. Clean your pipe and fittings. Remove marks and/or sand, if desired. (See PVC Pipe Preparation Tips & Tricks) Measure, mark and cut the PVC pipe into the following lengths and quantities:
- 3 1/4 (TWIN) or 6 1/4 (FULL) inches – Cut 8
- 3 1/2 inches – Cut 6
- 8 3/4 inches – Cut 3
2. Connect the following pipes and fittings in the order listed to create a FRAME END: ELBOW (90°) + 3 1/4-INCH PIPE (TWIN) or 6 1/4-INCH PIPE (FULL) + TEE (end) + 3 1/4-INCH PIPE (TWIN) or 6 1/4-INCH PIPE (FULL) + ELBOW (90°). 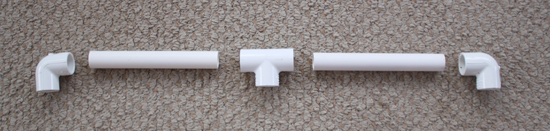
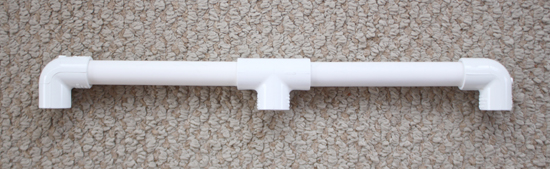
3. Repeat to create a total of two FRAME ENDS. 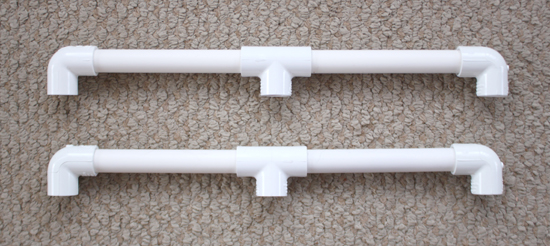
4. Connect the following pipes and fittings in the order listed to create a FRAME CENTER SUPPORT: TEE (center) + 3 1/4-INCH PIPE (TWIN) or 6 1/4-INCH PIPE (FULL) + CROSS + 3 1/4-INCH PIPE (TWIN) or 6 1/4-INCH PIPE (FULL) + TEE (center). 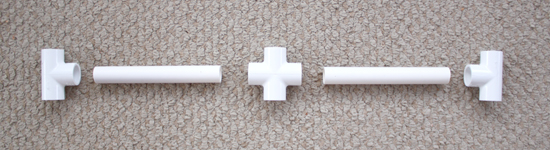
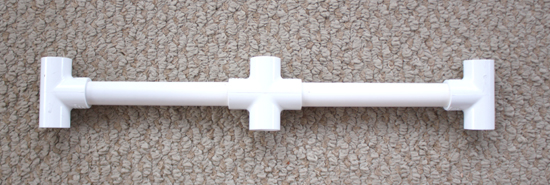
5. Repeat to create a total of two FRAME CENTER SUPPORTS. 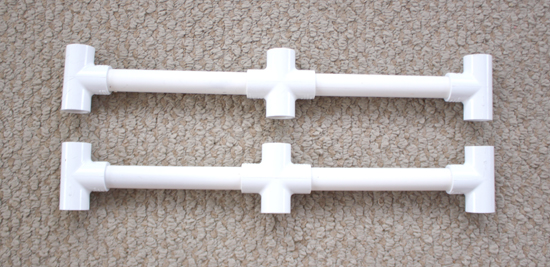
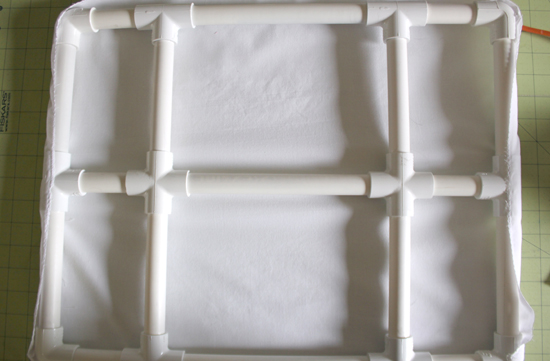
6. Connect the following pipes and parts in the order listed for all three openings to assemble your FRAME: FRAME END + 3 1/2-INCH PIPE + FRAME CENTER SUPPORT + 8 3/4-INCH PIPE + FRAME CENTER SUPPORT + 3 1/2-INCH PIPE + FRAME END. 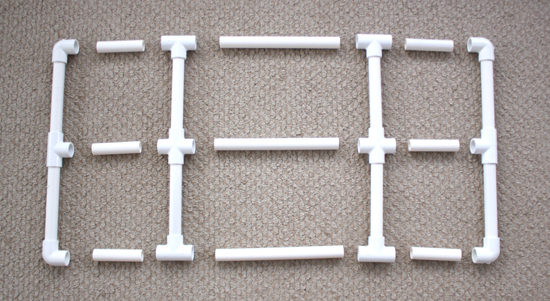
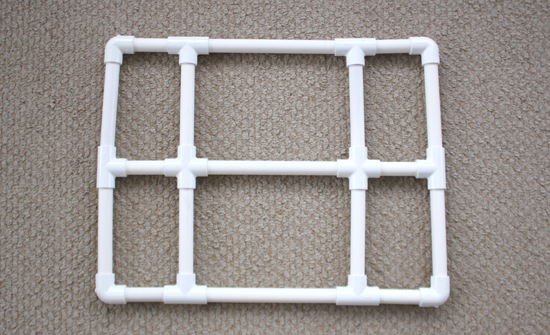
7. Lay your completed FRAME on your bed frame to make sure it fits. If it’s too long to fit easily on the bed, use a rubber mallet to gently tap the joints more securely together.
8. At this stage, you could take your FRAME apart and reassemble it, permanently gluing each piece back together as you go using contact cement or PVC cement. HOWEVER… because it is crucial that your FRAME is completely flat and square in order for it to fit correctly on the bed and the fabric cover will help hold your pieces together, gluing is not needed nor recommended. This will allow you to make slight adjustments later on when you place the frame on your doll bed.
Part Two – Sew Your Mock Spring Cover
1. Using the pattern pieces from the AptOne8 Suite Dreams Collection: Build-A-Bed pattern, cut one MATTRESS TOP & BOTTOM and two each of the MATTRESS END and MATTRESS SIDE pieces for your chosen bed size from fabric. (RECOMMENDED: Use quilted cotton or two layers of sew-in interfacing for the MATTRESS TOP and plain cotton fabric for the END and SIDE pieces.) 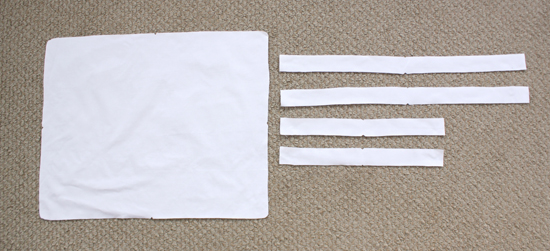
2. Right sides together, pin and stitch each MATTRESS END to a MATTRESS SIDE on the short side using a 1/4-inch seam allowance. 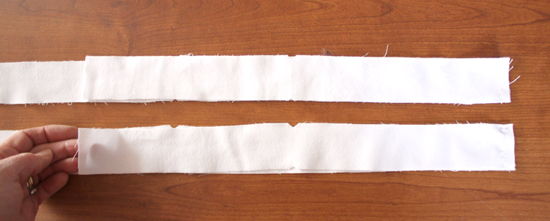
3. Right sides together, pin and stitch remaining short sides of the MATTRESS END and MATTRESS SIDE pieces to form a LOOP. 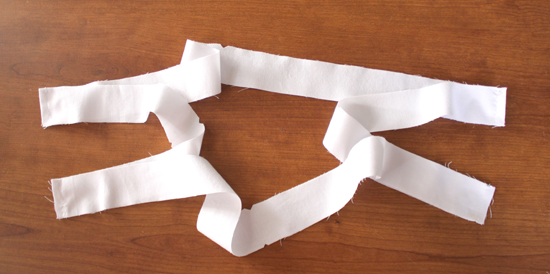
4. Press seams open. 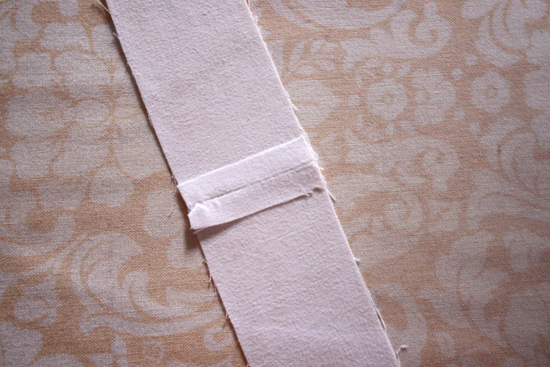
5. Zigzag or serge one edge around the entire LOOP to finish edges. 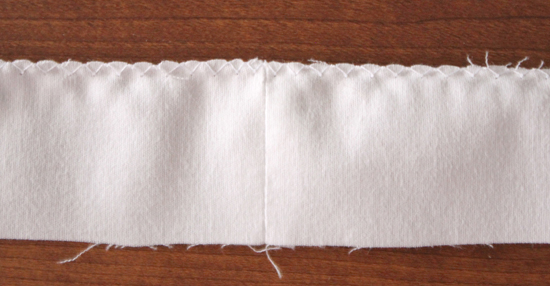
6. Following the same procedure described in steps 17-19 of the original pattern, pin the LOOP to the MATTRESS TOP piece. 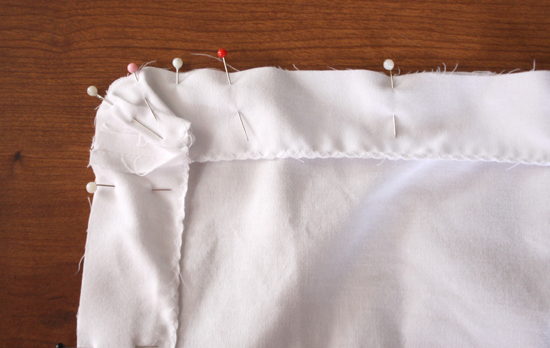
7. Stitch, using a 1/4-inch seam allowance. 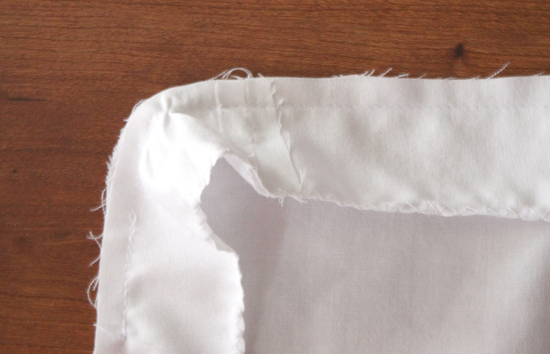
8. Press seam away from the LOOP. 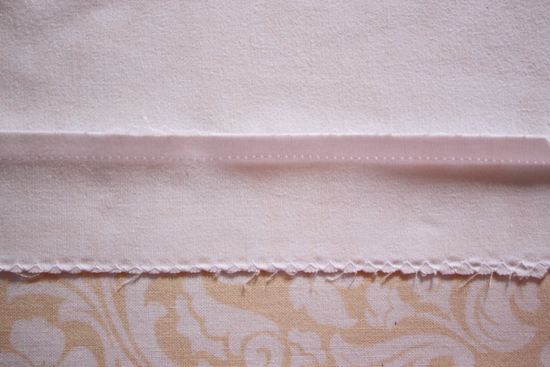
Part Three – Put It All Together
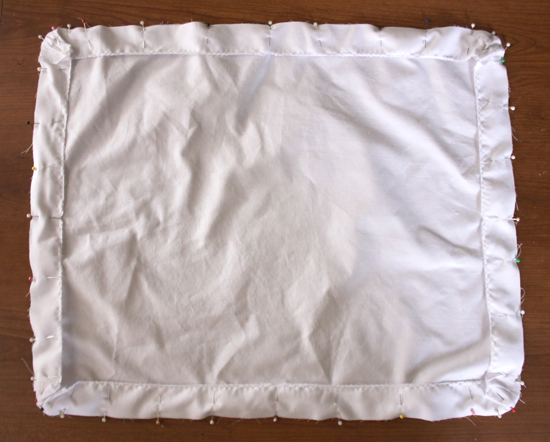
1. Lay the completed fabric cover wrong side up on a flat work surface. Lay your completed FRAME inside with the side of the pipes that you want to be visible facing up. Center the FRAME inside the cover. 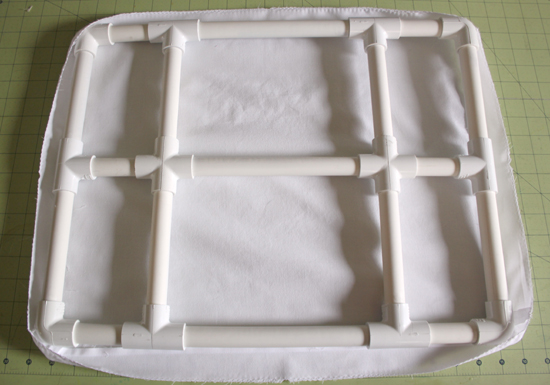
2. Starting near the TEE at each end of the FRAME, gently pull the fabric cover up over the TEE and glue the edge of the fabric to the TEE using a hot glue gun. Make sure your cover is snug, but not so tight that it is being pulled out of shape. 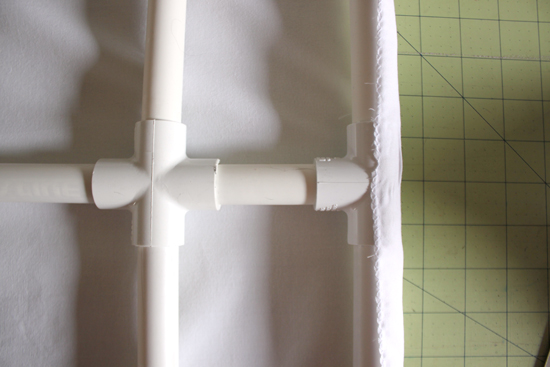
3. Continue by gluing the fabric to the TEES on the sides of the FRAME. 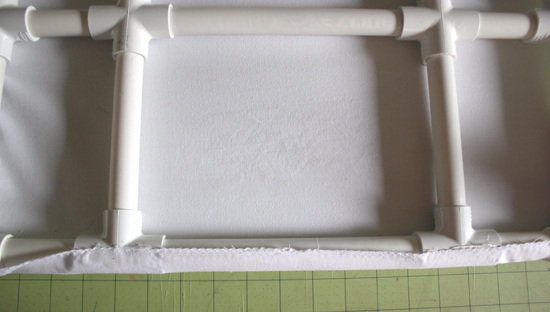
4. Next glue the corners of the cover to the corner ELBOWS (90°) of the FRAME, keeping the cover smooth and taut (but not tight) underneath. 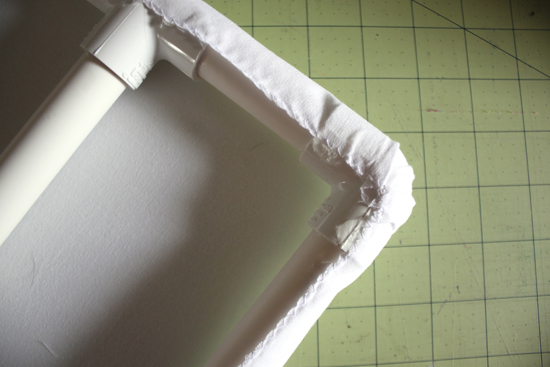
5. Finally, go back and glue the fabric to the exposed PIPE between each fitting. 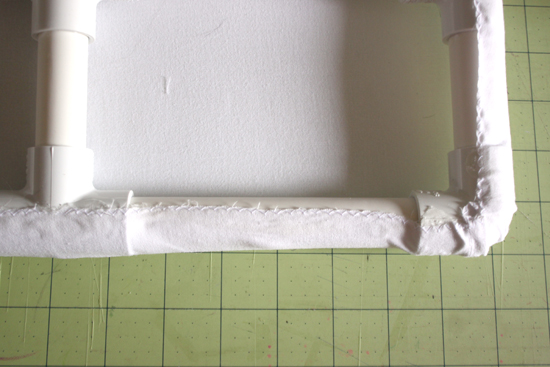
6. Place your new MOCK SPRING on your bed frame with the exposed pipe side facing down. 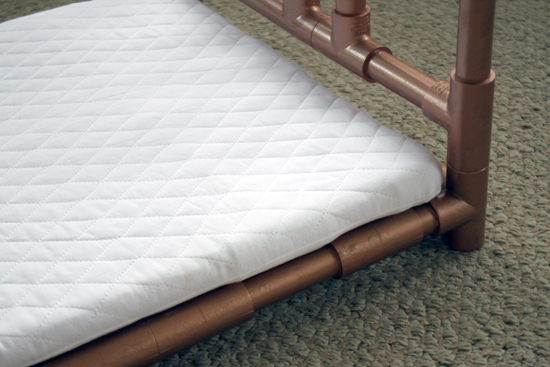
7. Lay your mattress on top of the MOCK SPRING. You’re ready to dress your bed! 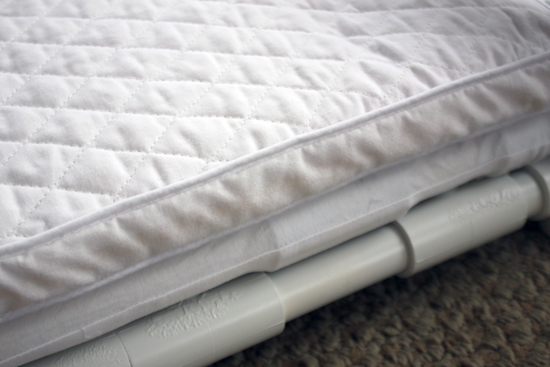
Permission to get creative…
Consider using a double layer of sew-in interfacing in place of the fabric for the MATTRESS TOP for an even more realistic look! 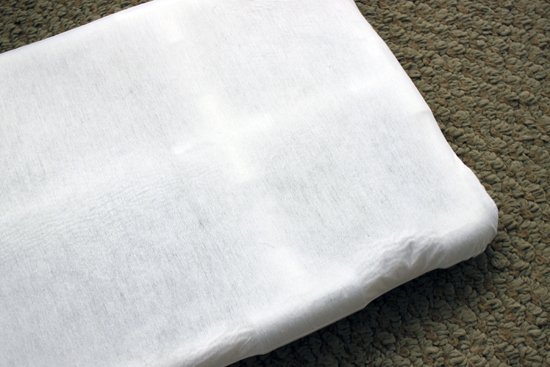
Keep in mind this is a bit more fragile than the fabric option, so consider your planned use if you decide to try this option.

Need some other furniture to go with your doll bed? Check out our AptOne8 PVC doll furniture plans… Matilda’s Closet and AptOne8 are not affiliated with American Girl® or Mattel®. No endorsement is implied.
0 Comments