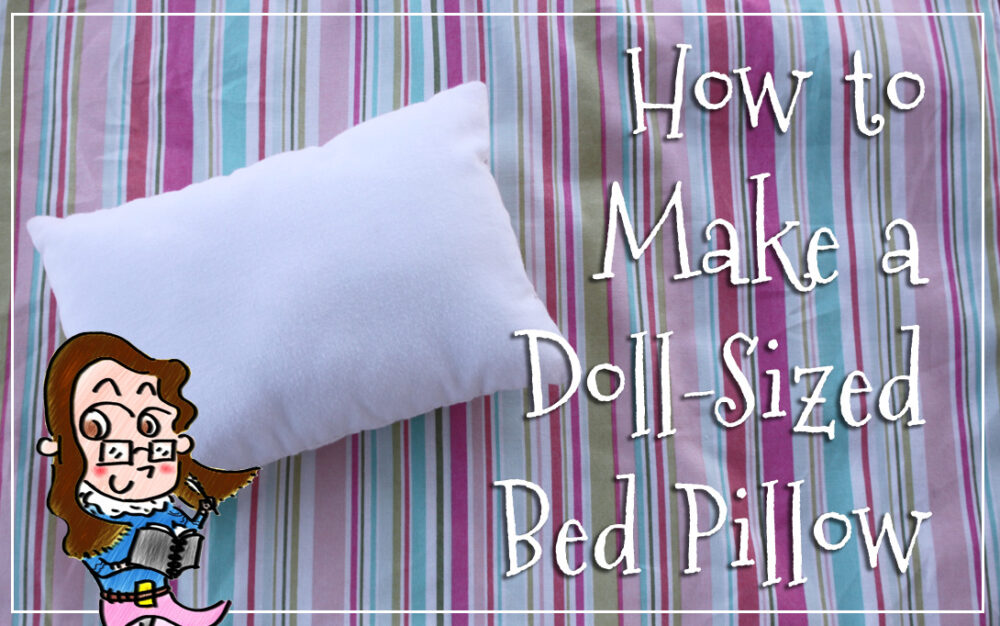
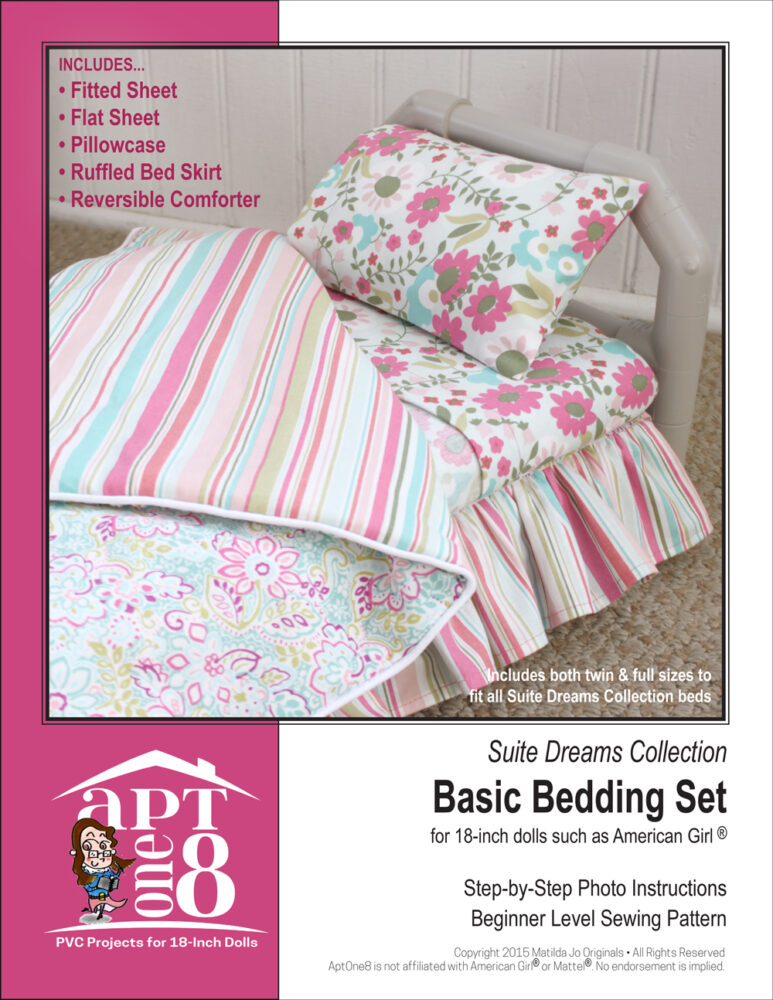
Make a soft, fluffy pillow for your 14- to 18-inch doll with this easy sewing tutorial from Matilda Jo Originals! The perfect complement to our Suite Dreams Collection and Snug As A Bug Collection PVC doll beds!
How to Make a Doll-Sized Bed Pillow
Materials Needed
• Fabric – enough for two 4×6-inch (14- to 15-inch doll) or 5×7-inch (18-inch doll) pieces for each pillow (cotton, ticking, other light to mid-weight woven fabrics)
• Thread
• Fiberfill stuffing
Tools & Supplies Needed
• Self-healing cutting mat, clear quilting ruler & rotary cutter
• Sewing pins
• Sewing machine
• Iron & ironing board
• Hand-sewing needle
• Scissors
Instructions
1. Using a self-healing mat, clear quilting ruler and rotary cutter, cut two rectangles of fabric, each measuring 4 inches tall by 6 inches wide (for 14- to 15-inch dolls such as WellieWishers™) or 5 inches tall by 7 inches wide (for 18-inch dolls such as American Girl™). (Once stuffed, your pillow will measure approximately 3×5 inches for the smaller size and 4×6 inches for the larger size.) 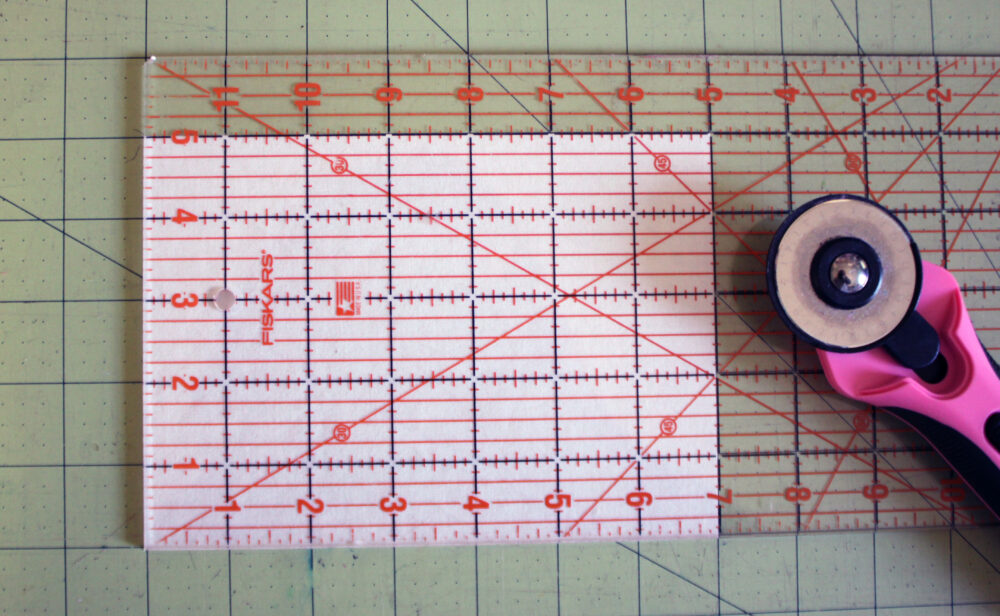
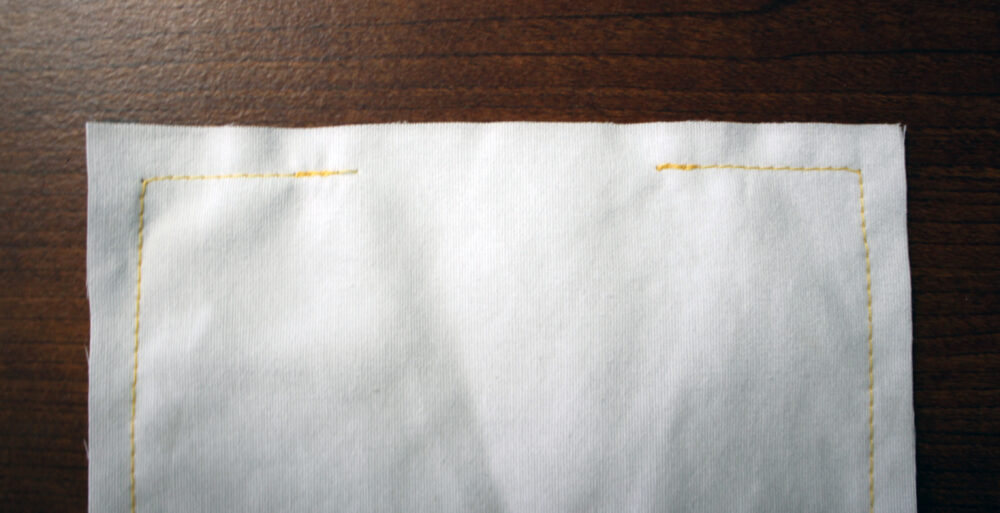
2. Right sides together, pin and stitch the two fabric pieces together using a 1/4-inch seam allowance. Leave an opening about two inches wide near the center of one of the shorter ends. 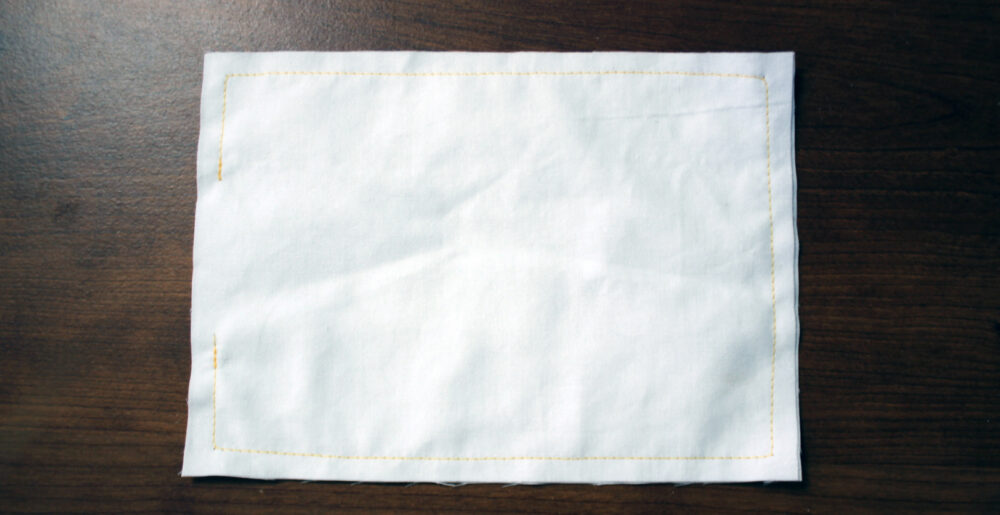
3. Clip corners. Trim seam allowance to approximately 1/8-inch on all sides except next to the opening. 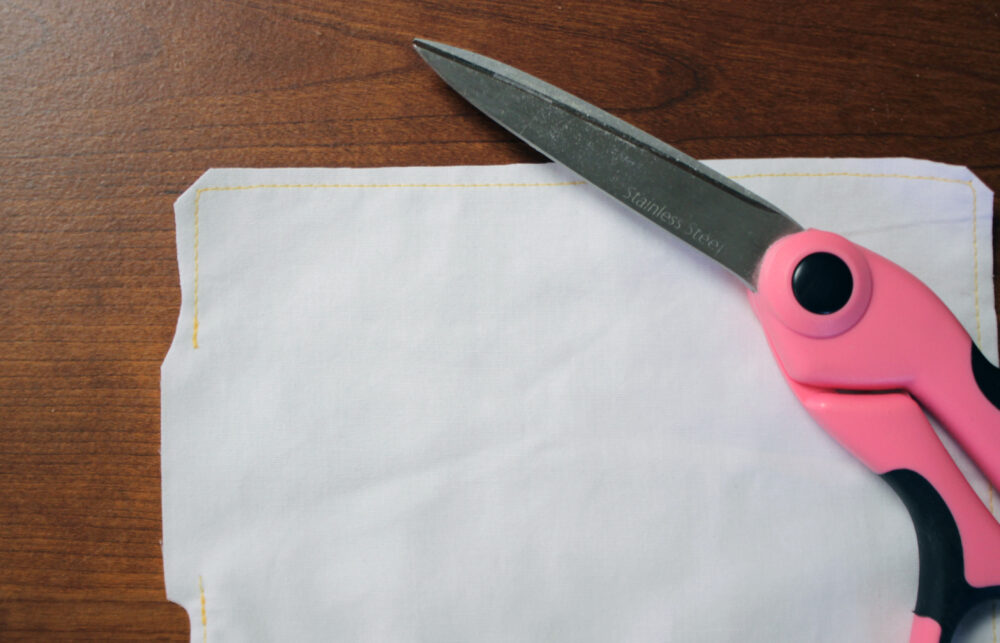
4. Zigzag or serge trimmed edges to finish. 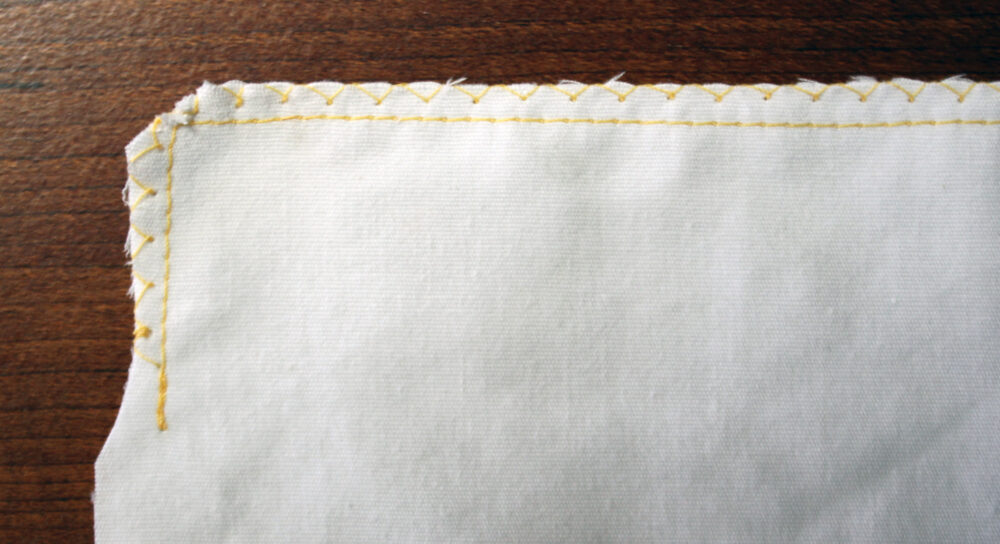
5. Turn pillow right side out. Use a pin to fully turn the corners. 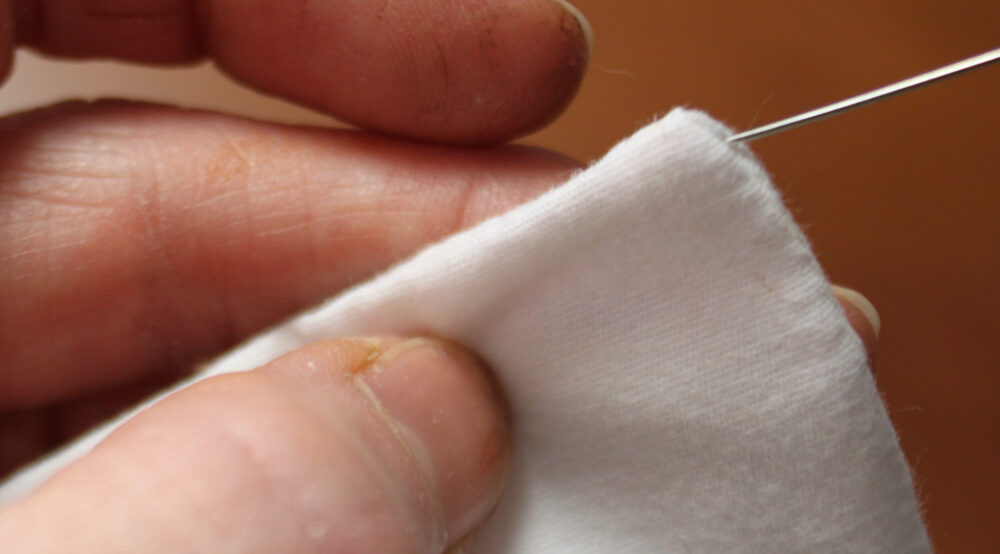
6. Press pillow, folding the edges near the opening 1/4 inch to the inside. 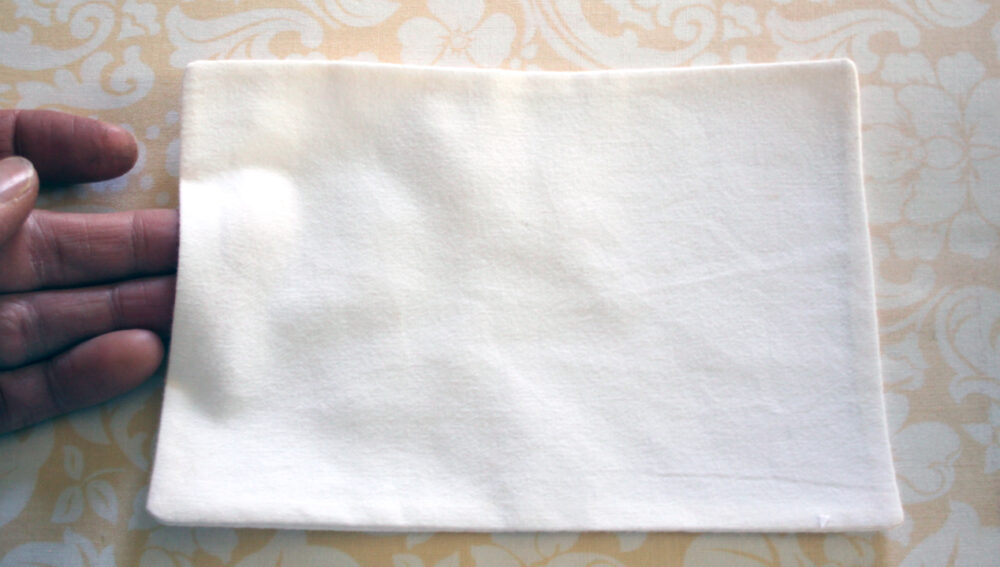
7. Using a small bunch of fiberfill at a time, stuff the pillow. Be sure to work the stuffing into each corner. 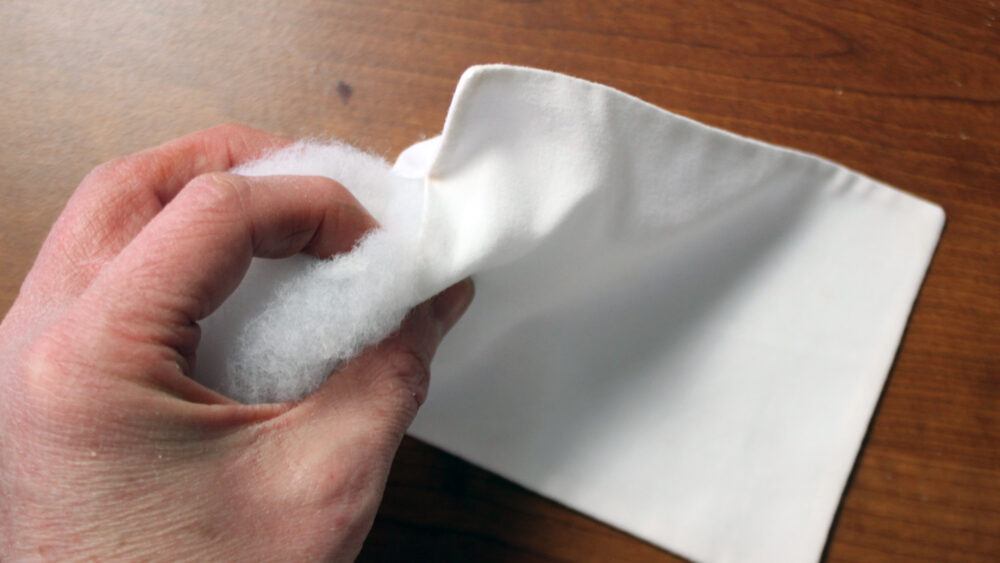
8. Once the pillow is stuffed to your desired firmness, add just a little more stuffing near the opening. 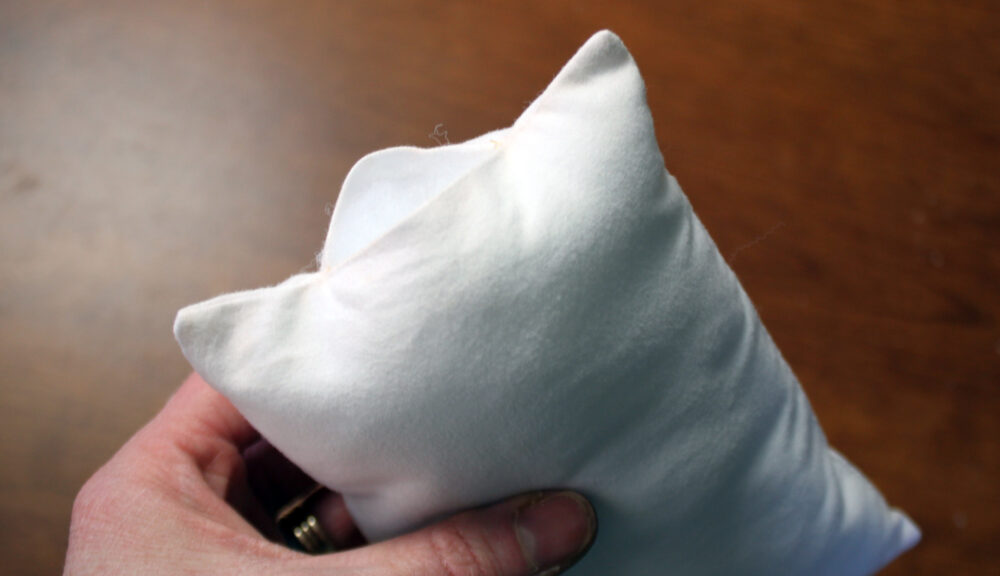
9. Pin the opening closed. 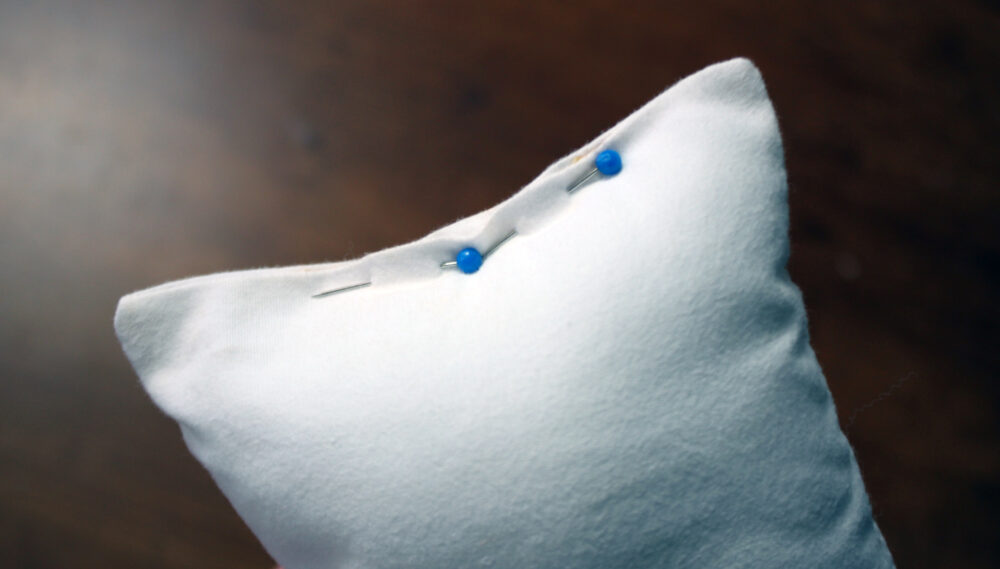
10. Slip-stitch the opening closed. 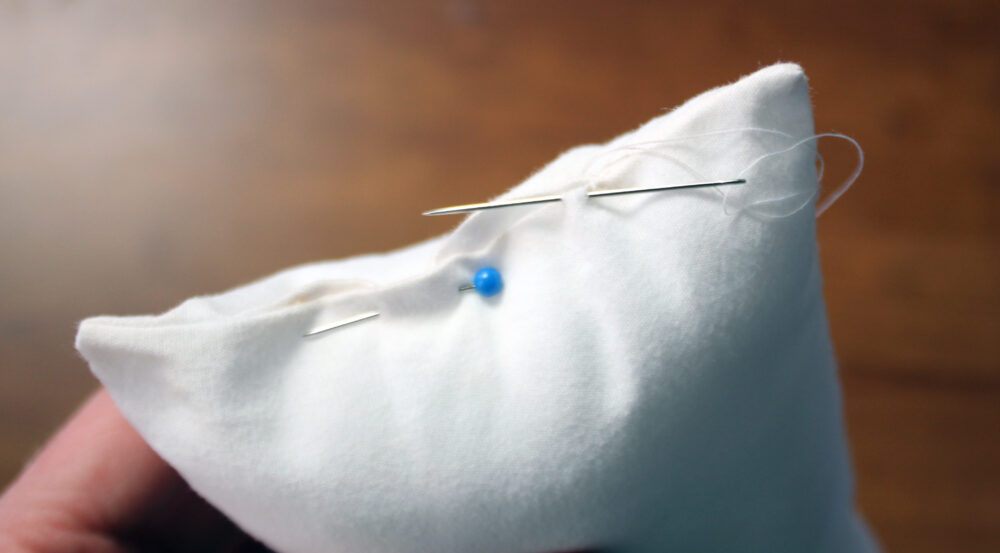
11. After knotting the end of your thread, hide the tail by inserting the needle into the pillow and pushing it out an inch or two from the opening. Clip the thread close to the pillow (be careful not to clip your fabric) and allow the tail to slip back inside the pillow. 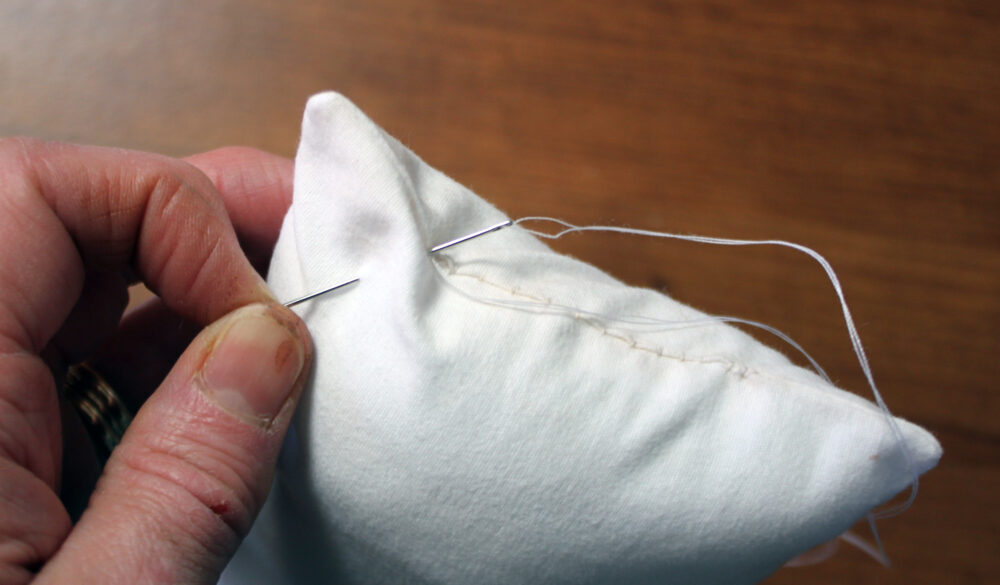
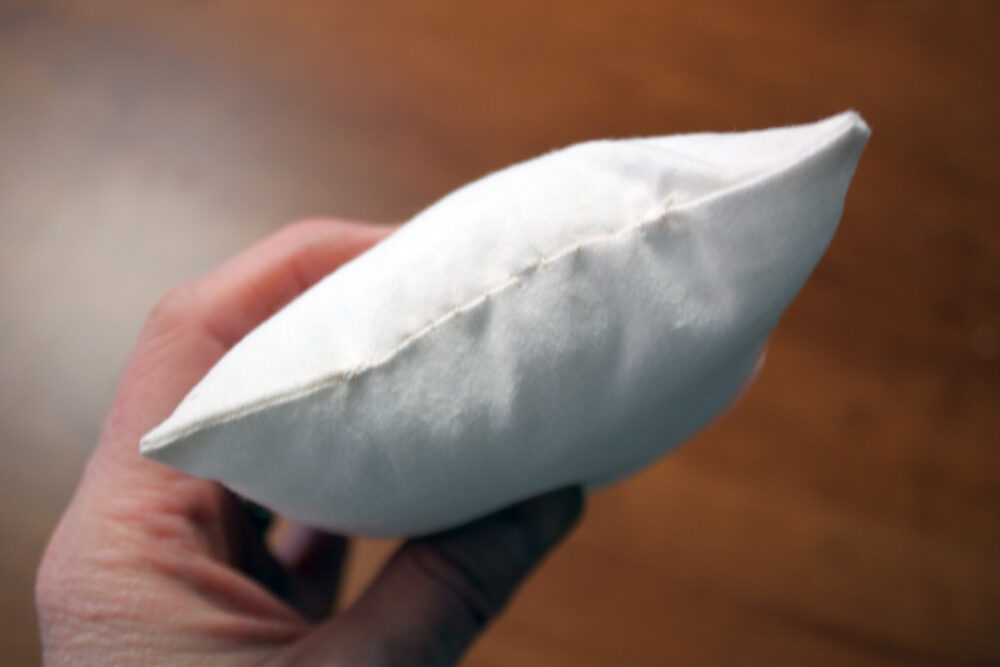
Your pillow is ready for use! 

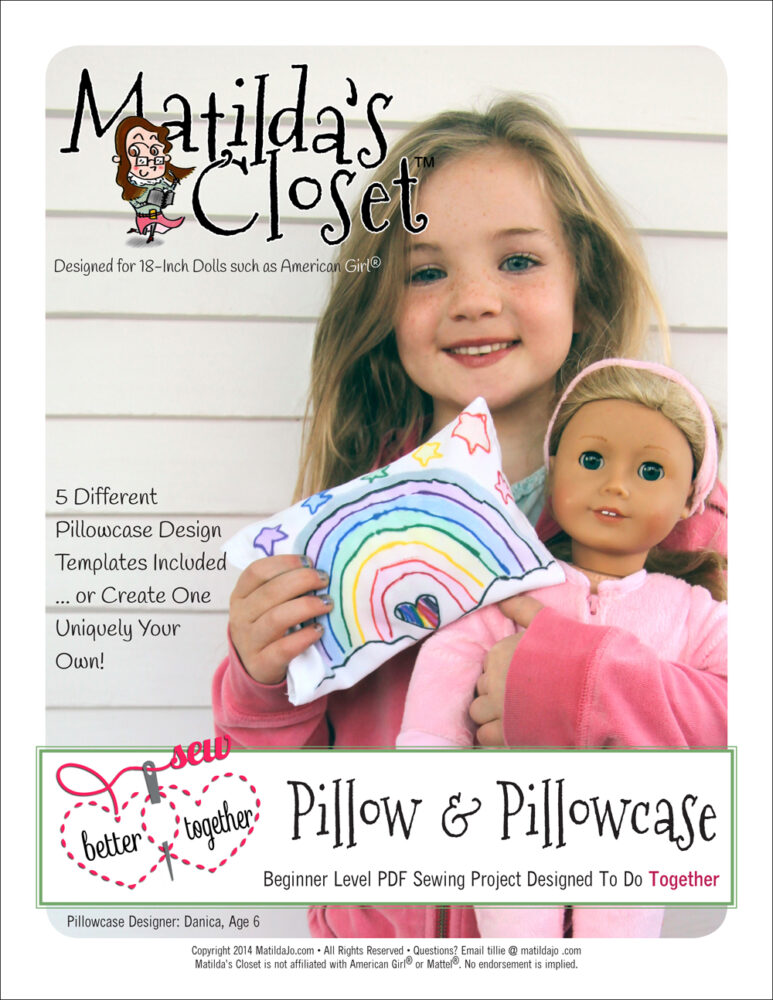
Need a pillowcase pattern?
Both of these patterns include pillowcases that will fit your new pillow…
Interested in making furniture for your doll? Check out our AptOne8 PVC doll furniture plans… Matilda’s Closet and AptOne8 are not affiliated with American Girl® or Mattel®. No endorsement is implied.
0 Comments
Trackbacks/Pingbacks