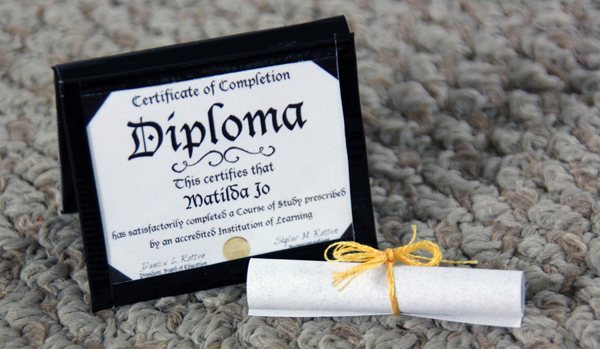
It’s graduation time!!! Create a miniature diploma to announce your 18″ doll’s achievements, complete with a realistic looking folder made out of Duck Tape™ sheets!
Gather Your Supplies
• Cardstock or heavy cardboard
• Black Duck Tape – One 8.5×11″ sheet
• White Cardstock – One 8.5×11″ sheet • Double-sided tape
• Clear plastic bag (ie. food storage bag or leftover product packaging)
Helpful Tools
• Rotary cutter
• Self-healing mat
• Transparent quilting ruler
• X-acto knife
Print Your Diploma
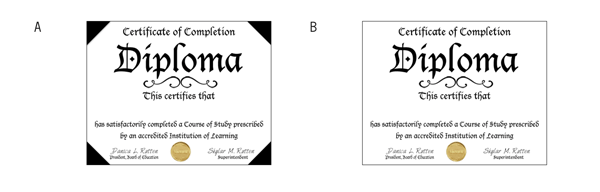
1. Choose whether you would like corners (A) or no corners (B).
2. Click HERE to download Diploma A. Click HERE to download Diploma B. Save the file to your computer, then open your saved diploma file using Adobe Reader. Fill in the graduate’s name by typing in the highlighted area.
3. Print your diploma on cardstock or specialty paper (actual size).
4. Cut out diploma along solid line.
Prepare Your Folder Materials
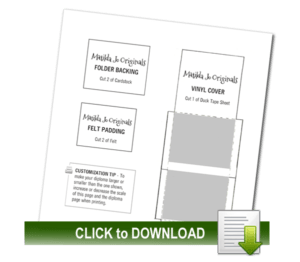
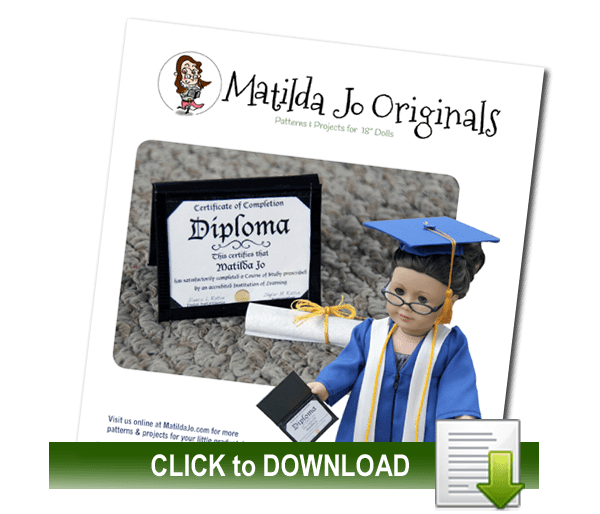
1. Click on the image to download pattern pieces. (Alternatively, download the complete 101-page project instructions and patterns by scrolling to the bottom of this post.)
2. Print and cut out the pieces.
3. Cut two Folder Backing pieces from cardstock or heavy cardboard.
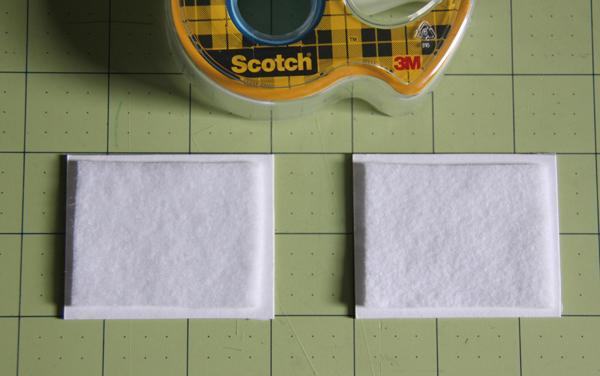
4. Cut two Felt Padding pieces from felt (any color).

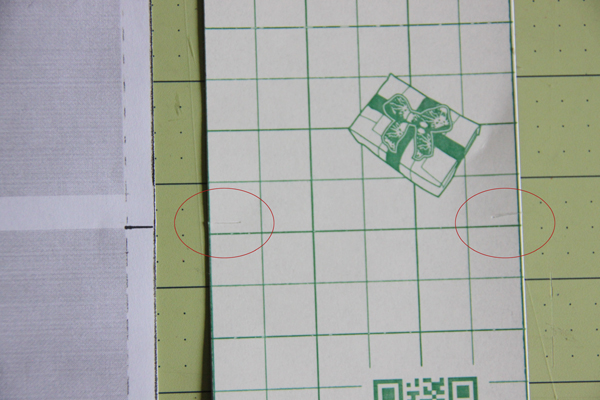
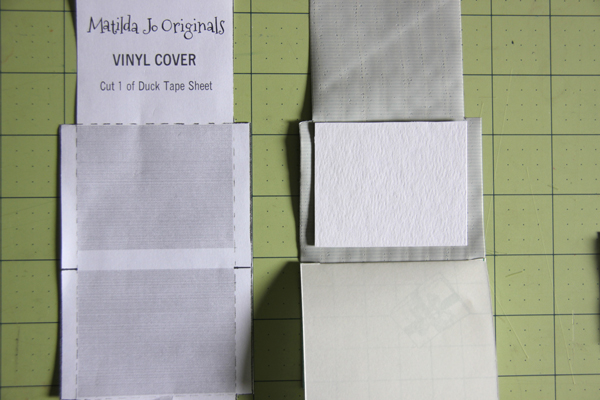
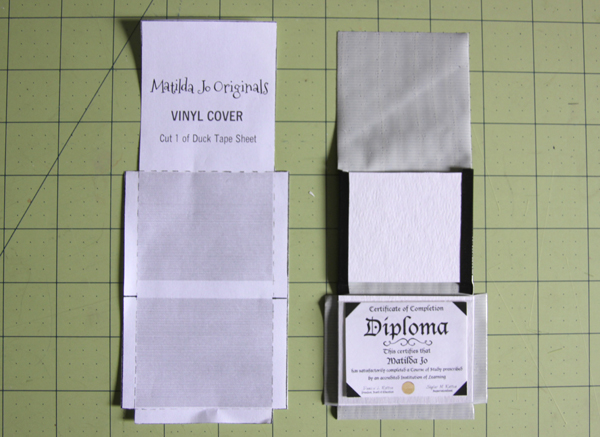
5. Trace Vinyl Cover pattern on the back side of a sheet of Duck Tape. Carefully cut out along solid lines using sharp scissors or an X-acto knife and straight edge.
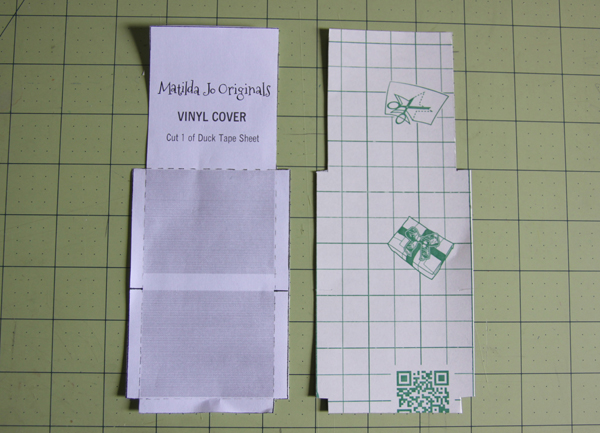
6. Be sure to also snip the short lines on either side, as highlighted in the photo below.
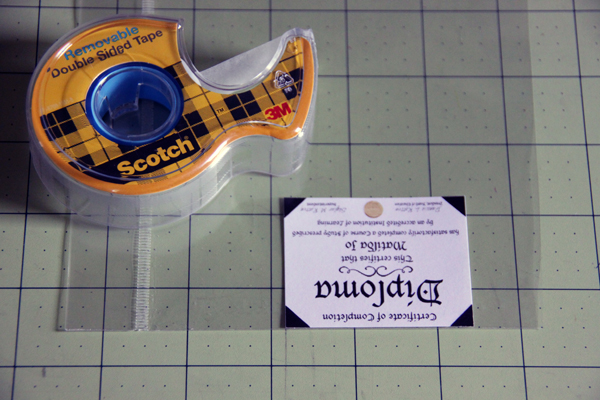
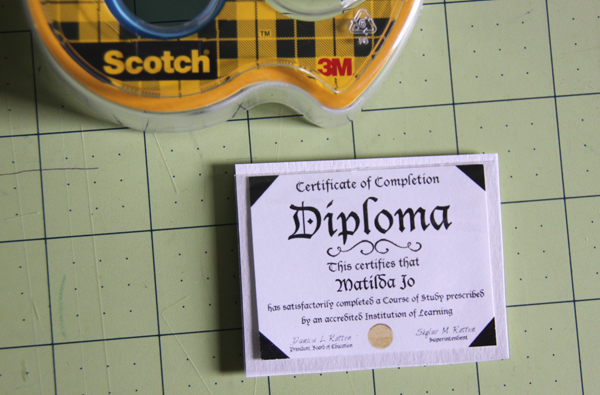
7. Place a piece of double-sided tape on the back of the diploma. Insert the diploma between the layers of the plastic bag with the top of the diploma aligned tightly against the folded edge of the bag. Press down to adhere the tape to the plastic.
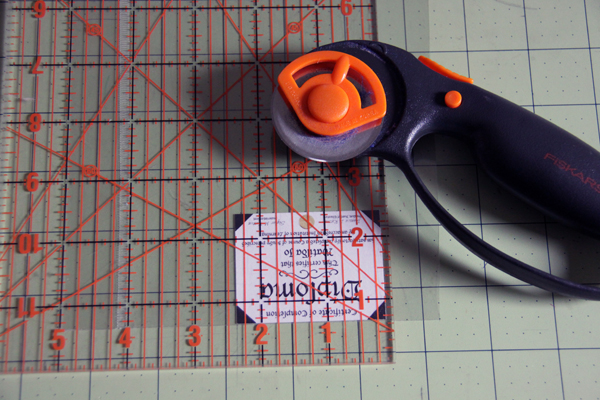
8. Trim around the diploma, leaving a 1/8-inch margin on three edges. (Do not trim the side with the plastic fold.) Your finished diploma with plastic cover will now be 2 1/2×1 7/8 inches.
Assemble Your Diploma
1. Use the double-sided tape to adhere a felt piece to the center of each chipboard backing piece.
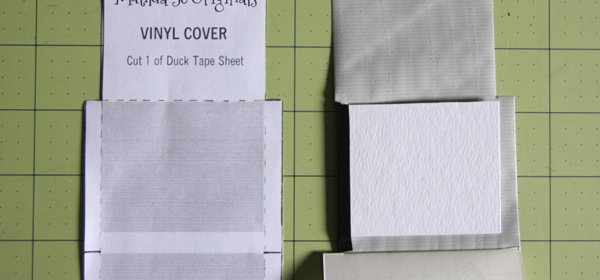
2. Lay the Vinyl Cover pattern next to your Duck Tape piece to use as a visual guide.
3. Carefully peel back the backing from the Duck Tape piece, stopping at the side slits. Fold down the backing to keep it out of your way. Place one of the chipboard backing pieces, felt side down, on the exposed sticky area so that it covers the shaded area, as shown. Press down to adhere the chipboard to the Duck Tape.
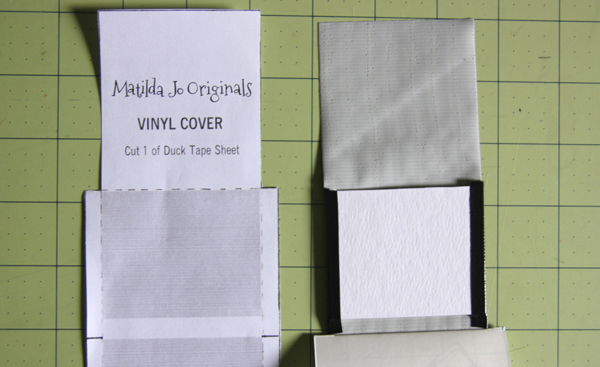
4. Fold up the Duck Tape along the left side of the chipboard piece and smooth down tightly.
5. Repeat for the right side of the chipboard piece.
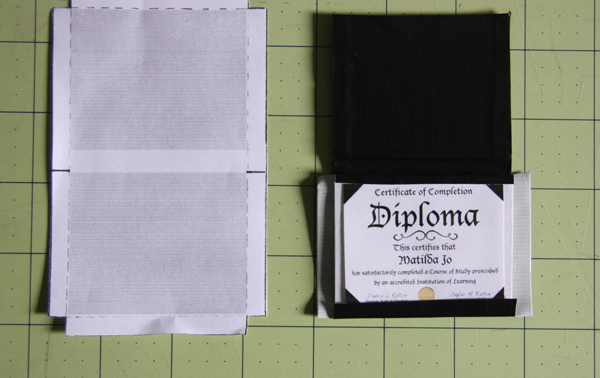
6. Using a piece of double-sided tape, attach the diploma to the remaining chipboard piece on the side that does not have the felt attached. The plastic edges should align with the sides and bottom, leaving a 1/8-inch gap at the top between the plastic and the chipboard edge.
7. Carefully peel off the rest of the Duck Tape backing. Place the chipboard-backed diploma, felt side down, on the tape so that it covers the shaded area designated on the pattern. Press down firmly to adhere it to the tape.
8. Carefully begin to adhere the top part of the tape to the exposed piece of chipboard (top cover), smoothing tightly as you go. When you get close to the area between the top cover and the diploma, carefully overlap the diploma with the tape by about 1/8-inch and smooth down BEFORE smoothing the middle area between the diploma and the top cover. Press the tape into the creases to make a nice clean binding.
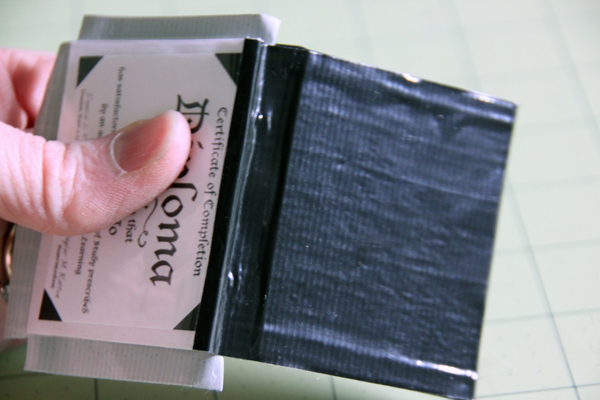
9. Fold up the bottom edge of the exposed tape and smooth tightly along the bottom edge of the diploma. Repeat with the left and right sides.
Show off your new doll diploma!

Get the 18-inch doll diploma tutorial for FREE!
Download the complete 11-page printable PDF tutorial and photo instructions by clicking below.
Looking for more plans & projects for your little graduate?
View our complete Graduation Ensemble!
0 Comments