Bias tape piping, often referred to simply as “piping,” can add a very professional, tailored look to your doll sewing projects. But if you live in a small area like I do, sometimes it’s hard to find piping in a color to match your fabric.
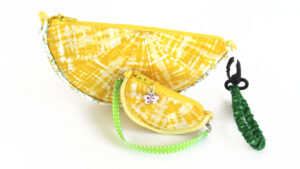 Or perhaps you’d like to use patterned piping, such as that shown in our Any Way You Slice It Purse shown on the left, for an extra splash of fun!
The solution? Make your own piping from your chosen fabrics! (Just THINK of the possibilities!)
How to Make Bias Tape Piping
Tools Needed
• Sewing machine
• Clear acrylic quilting ruler (with angle markings)
• Rotary cutter & self-healing mat
• Iron & ironing board
• Seam alignment guide (click HERE to download)
• Sewing pins
Supplies Needed
• Fabric
• Thread
• 1/8-inch diameter cording or braided nylon rope (make sure it bends easily and isn’t too stiff for a sewn project)
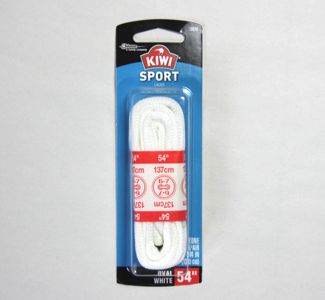
Can’t find cording?
Try round shoelaces!
Instructions
1. Press your fabric and lay it out flat on your cutting mat with your selvage(s) on the left side. (Your fabric may be in a single layer or, if more piping is desired, folded with both selvages lined up on the same side.) 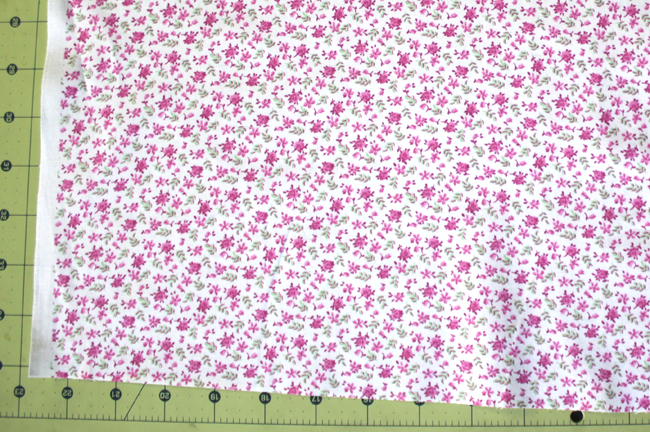
2. Using your clear acrylic quilting ruler and rotary cutter, cut the bottom edge of your fabric so that it is straight at a 90° angle to the selvage. 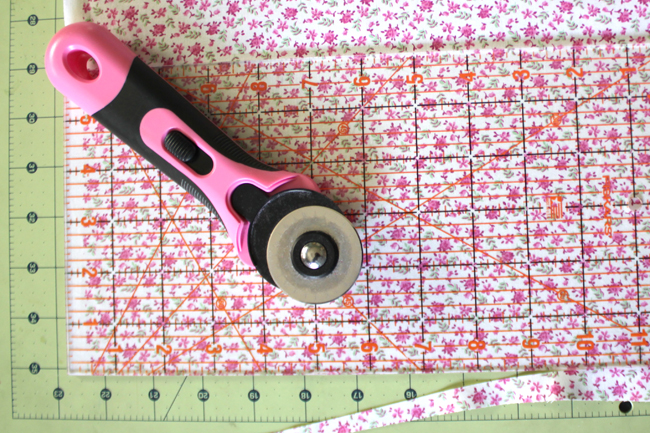
3. Find the 45° mark on your quilting ruler and line it up so the 45° degree line on the ruler is right along the selvage edge of your fabric.
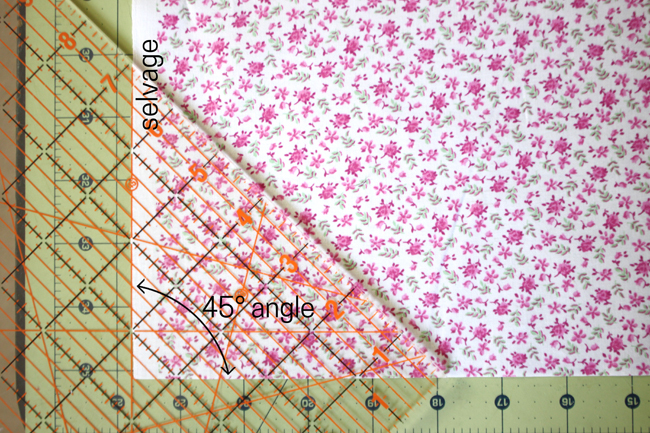
4. With your ruler still in place, cut a length of fabric from edge to edge at that 45° angle.
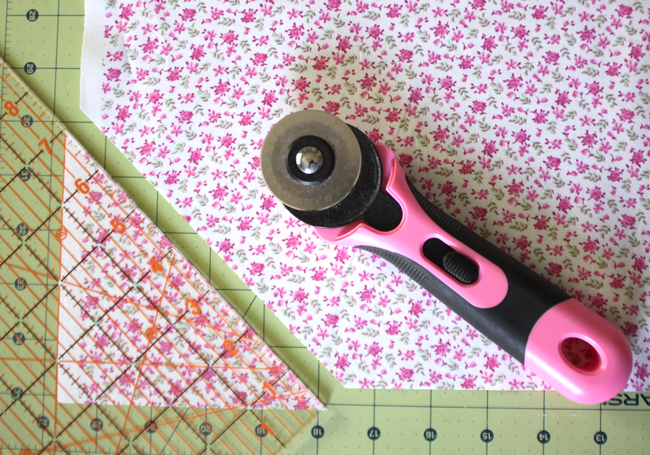
5. Use your ruler to make another cut parallel to your first to create a 1-inch wide strip. 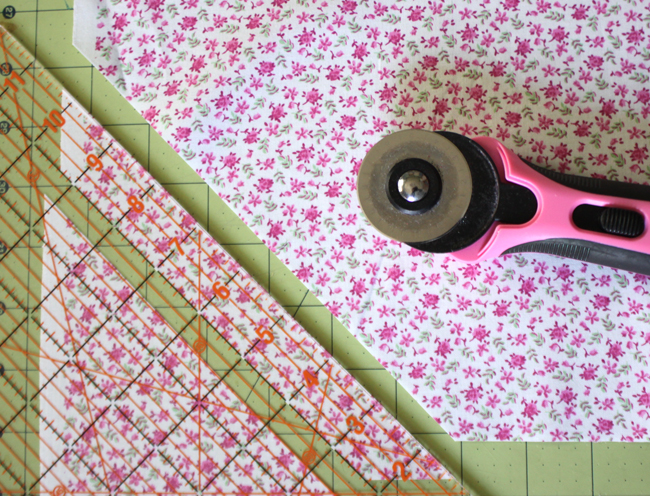
6. Continue cutting parallel 1-inch strips of fabric. 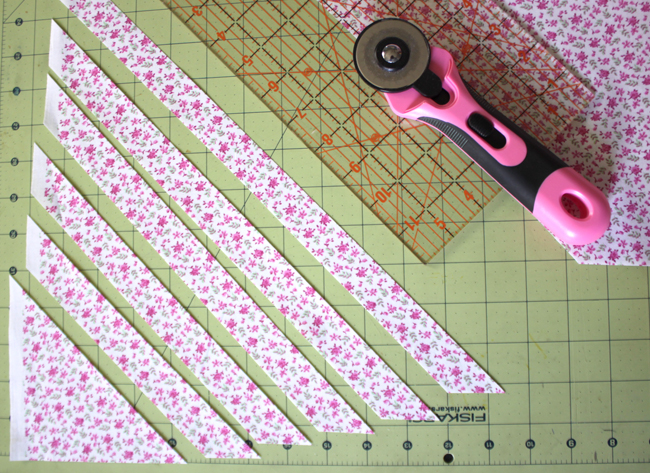
7. Use the downloadable seam alignment guide to pin your strips together along the short angled ends with right sides facing each other. (If your selvage is wider than 1/4 inch, you may need to trim the ends of your strips prior to pinning. When doing so, be sure to make the cuts parallel to the selvage.) 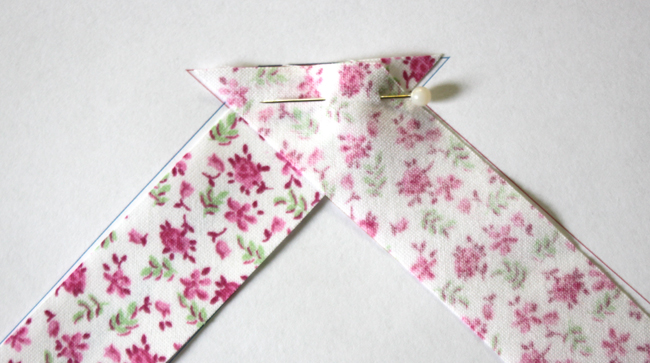
8. Stitch strips together using a 1/4-inch seam allowance. 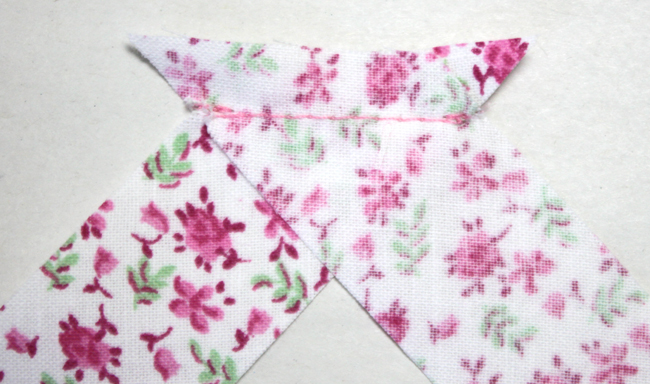
9. Press seams toward one side. Trim off the fabric corners that extend beyond the edge of the strip. 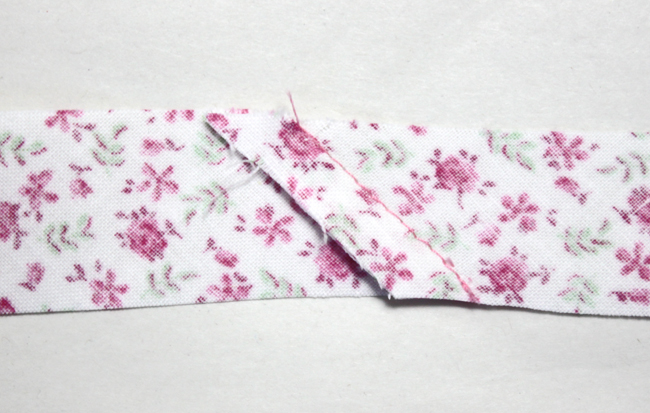
10. Starting at one end of the strip, fold the fabric wrong sides together, aligning raw edges, and press. Continue folding and pressing as you work down the length of the strip. 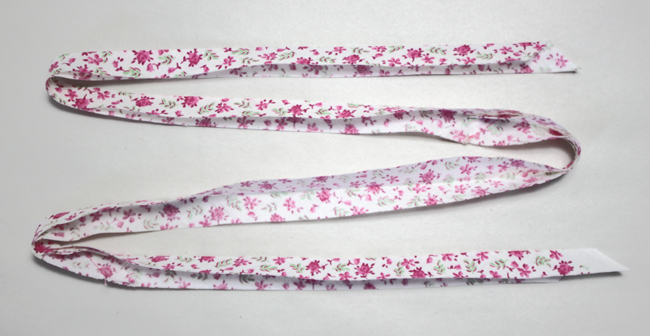
11. Starting at one end of your fabric strip, place the cording inside the fold, pushing it into the folded edge and leaving an inch or two of the cording sticking out of that end. Realign the raw edges of the fabric and pin in place. Continue pinning the cording inside the strip of fabric until you reach the end. Cut off the cording, leaving a tail of at least a few inches. (As you get the hang of this, you may choose to skip the pinning, just slipping the cording into the fold as you stitch.) 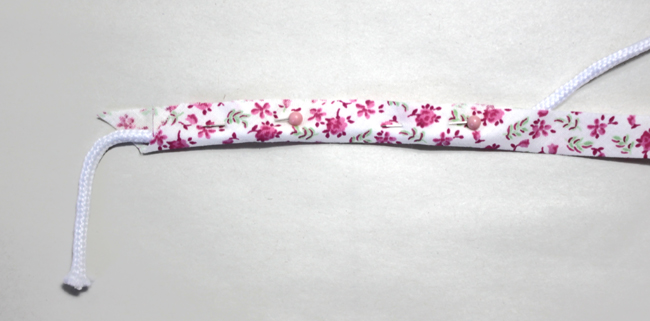
12. Using a zipper foot and a 1/4-inch seam allowance, stitch the fabric together, removing the pins as you go. Take it slowly, using your fingers to keep everything aligned, and be careful not to stitch into the cording itself. 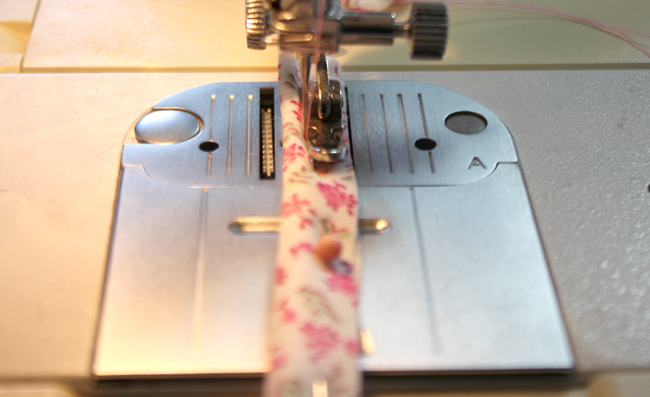
13. Trim the excess cording from both ends of your piping. If desired, wind the piping onto a piece of cardboard. Your piping is now ready for use! 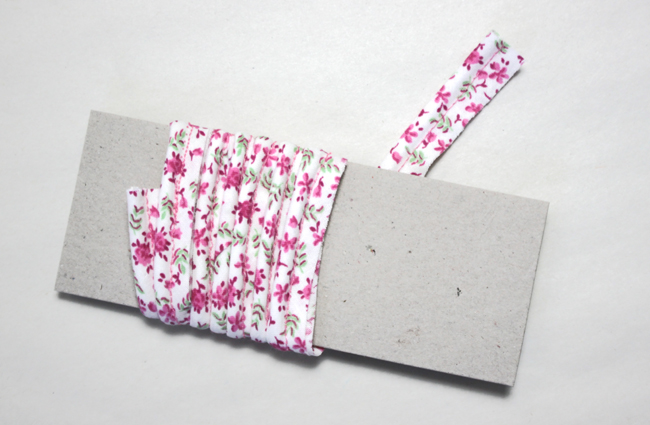

Permission to Get Creative
This tutorial was written for use with woven cotton fabrics, but feel free to experiment with other types, such as satins, polyester blends … or perhaps even knits! You may also wish to experiment with different types or sizes of cording or adjust the width of your fabric strips, depending upon the project on which your piping will be used.
Matilda’s Closet is not affiliated with American Girl® or Mattel®. No endorsement is implied.
I signed up for inner circle a while ago. I wanted to download this off to my tablet to use the directions offline. How or where do you login to do so?
Hi Kim! The free PDF version was delivered via a “Welcome” email when you first signed up for the Inner Circle. There is a download link in that email. Please check your email inbox to see if you can find that email … if you don’t find it, email me directly at [email protected] and I can send that file to you.