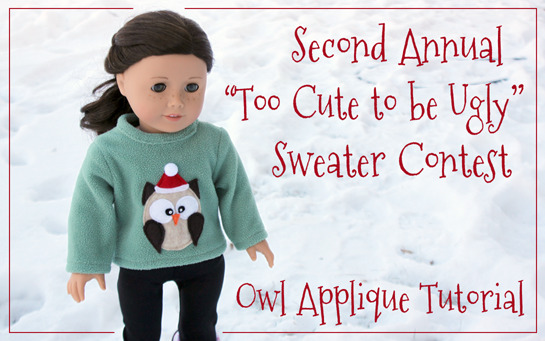
Add a cute holiday owl to your doll’s “Too Cute to be Ugly” sweater with this free tutorial!
How to Add a Holiday Owl Applique to Your Doll Sweater
Materials Needed
• Felt scraps – tan or light brown, dark brown, black, white, red and orange
• Thread to match each felt color
• Two white seed beads
• One small white pom-pom
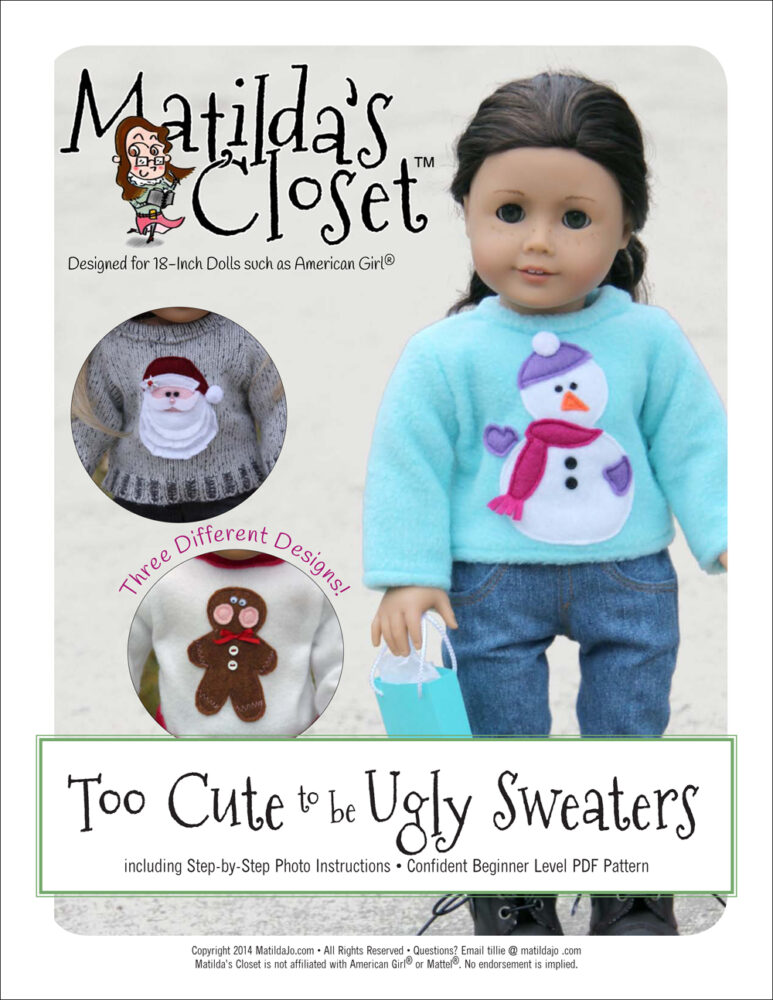
• Pattern, fabric and supplies to make a Too Cute to be Ugly Sweater (or other item you wish to applique)
Tools & Supplies Needed
• Sewing pins
• Sewing machine
• Hand-sewing needle
• Scissors
Instructions
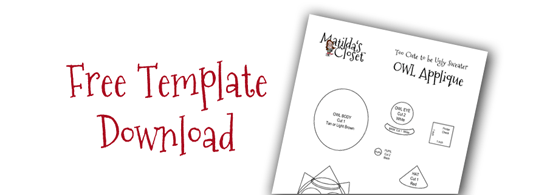
1. Download and print our free Owl Applique template. (Make sure you print your template at 100% with no scaling.) Cut out pattern pieces along solid black line.
2. Pin and cut felt pieces, as follows: OWL BODY (1 tan or light brown), OWL EYE (2 white), BRIM (1 white), HAT (1 red), BEAK (1 orange), WING (2 brown), EAR (2 brown) and PUPIL (2 black). If using the Too Cute to be Ugly Sweater pattern by Matilda’s Closet, pin and cut out pattern pieces. The OWL applique will be attached to the sweater FRONT piece. If using a different pattern, cut out the fabric that will be used for the front of your chosen pattern. 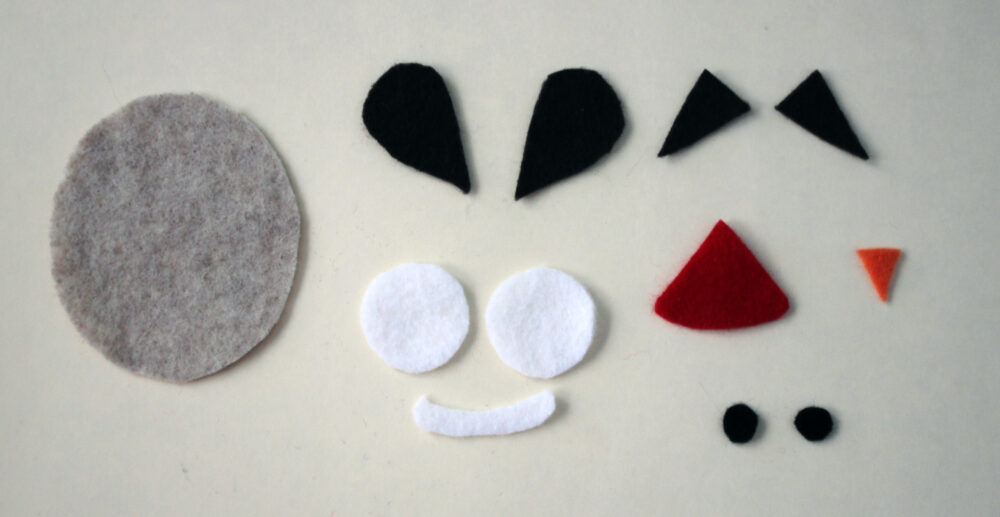
3. Lay the sweater FRONT on the table, right side up. Position the OWL BODY on the FRONT so that it is centered left to right and the bottom of the OWL BODY is approximately 1 inch from the bottom edge of the FRONT. Pin in place. TIP: Lay the printed OWL diagram alongside your project to use as a placement guide. 
4. Position each EAR as indicated by the diagram, sliding one long edge of the EAR about 1/8 inch underneath the edge of the OWL BODY. Pin in place. 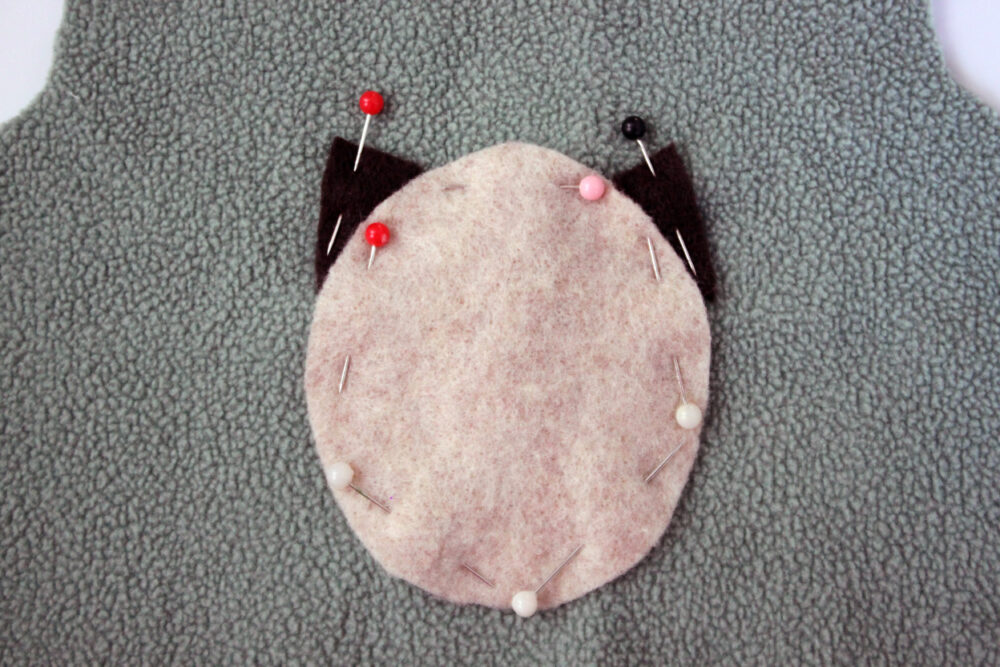
5. Topstitch around entire OWL BODY close to the edge using matching thread. 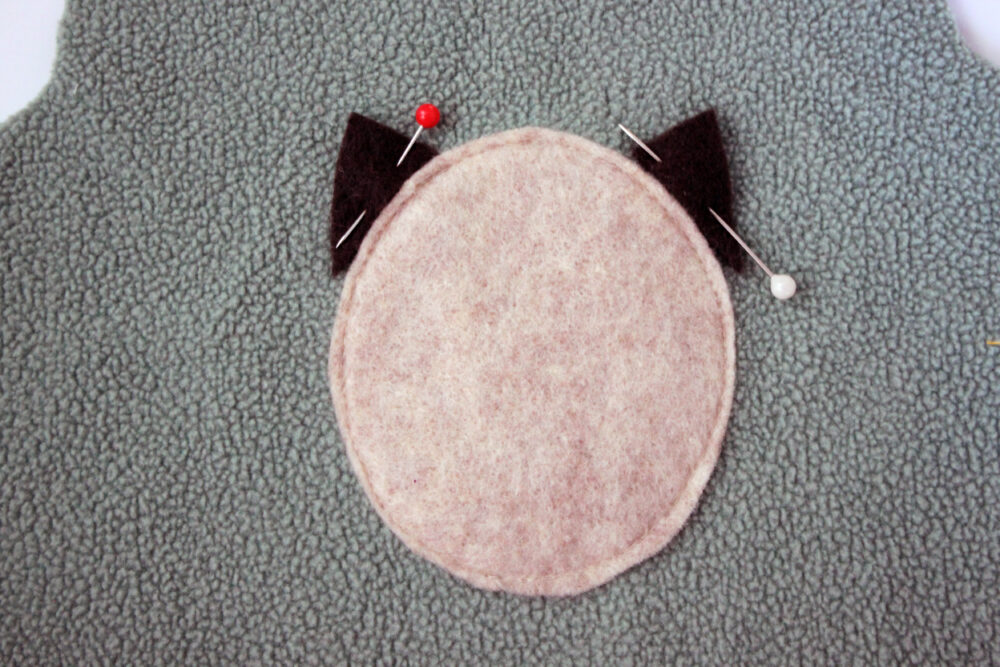
6. Topstitch visible portion of each EAR close to the edge using matching thread. 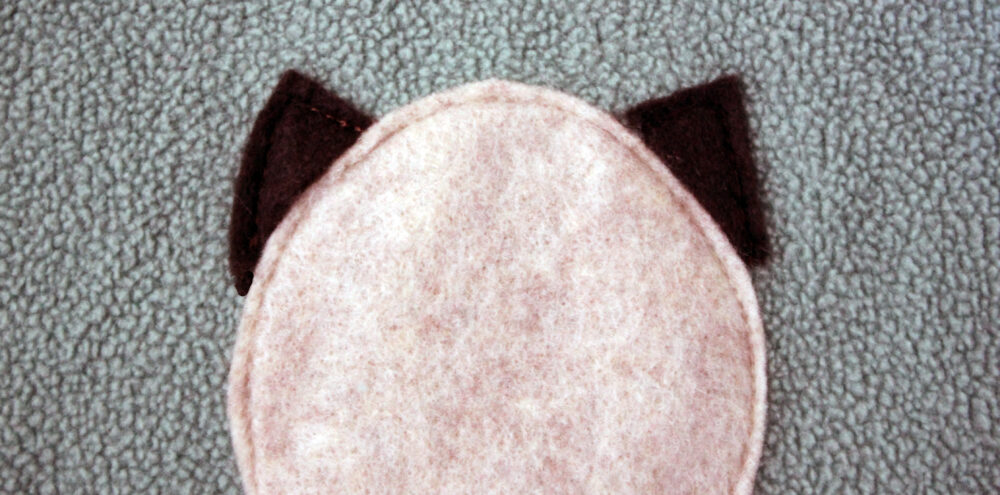
7. Position HAT over the top of OWL BODY between the EARS. Topstitch around entire HAT close to the edge using matching thread. 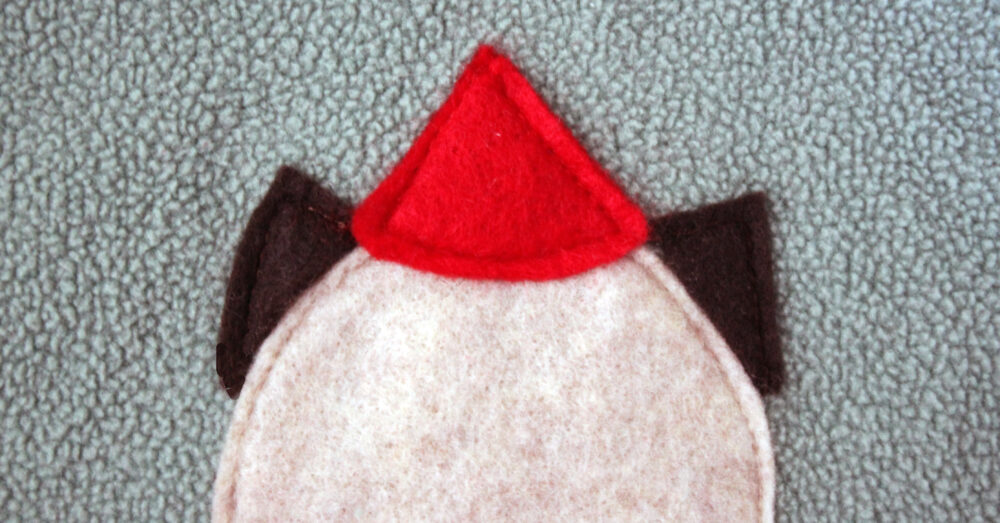
8. Pin BRIM to the lower edge of the HAT so the BRIM extends slightly lower than the HAT. Pin EYES as indicated by the diagram. 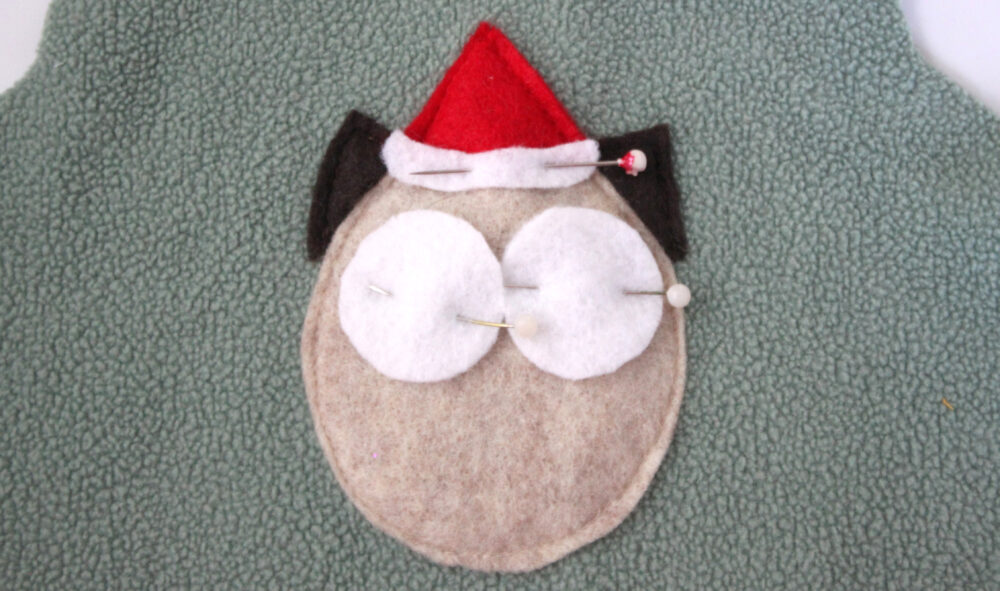
9. Topstitch around entire BRIM close to the edge using matching thread. Topstitch each eye close to the edge using the same thread. 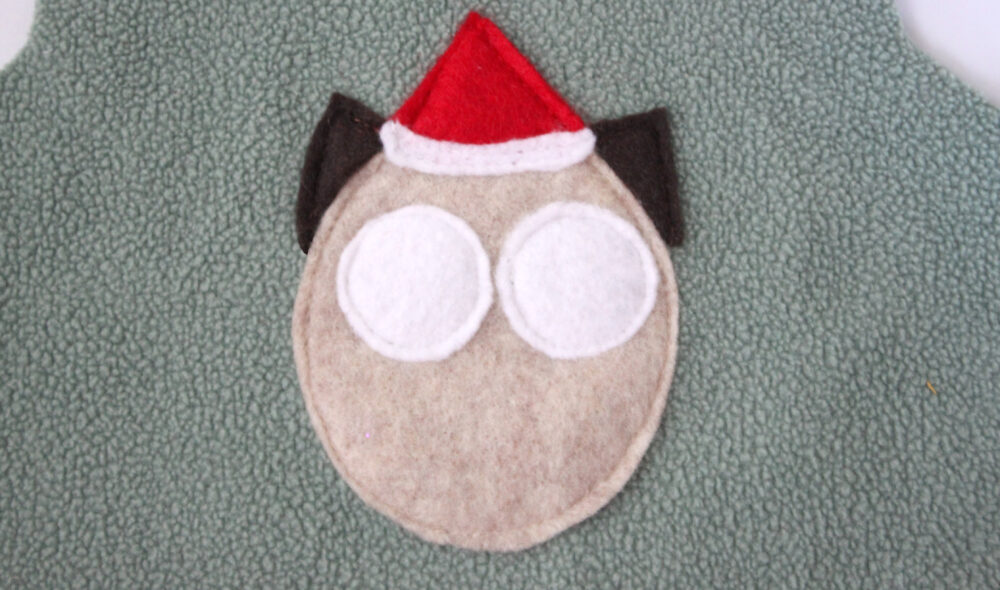
10. Pin a PUPIL to each EYE as indicated by the diagram. Topstitch around each PUPIL close to the edge using matching thread. 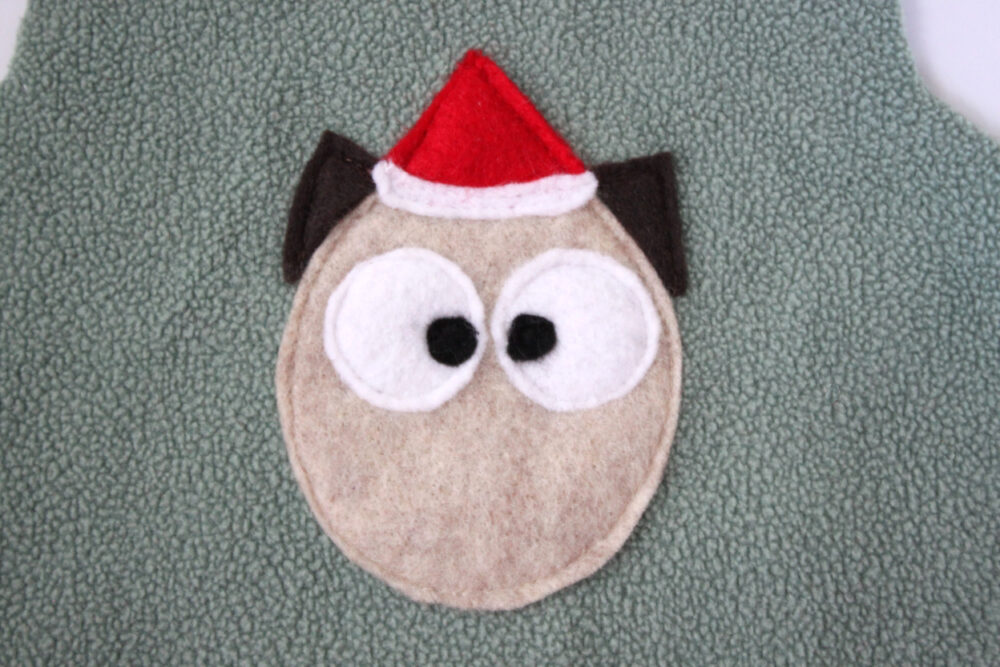
11. Pin the BEAK just below the PUPILS. Topstitch close to the edge using matching thread. 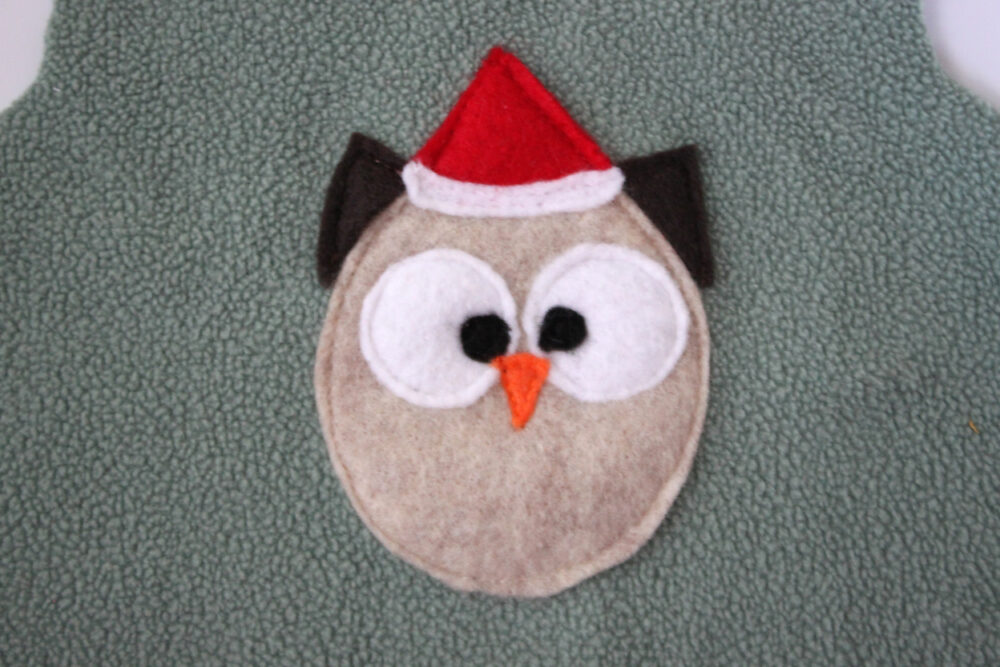
12. Pin WINGS to the OWL BODY as indicated on the diagram. Topstitch close to the edge using matching thread. 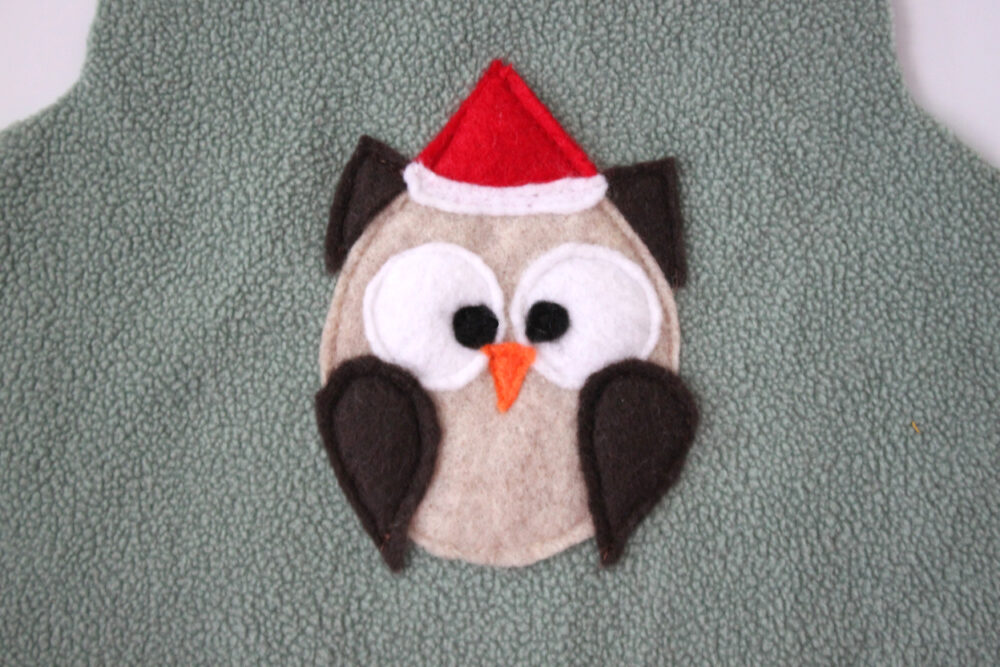
13. Hand-sew a pompom to the top of the HAT. 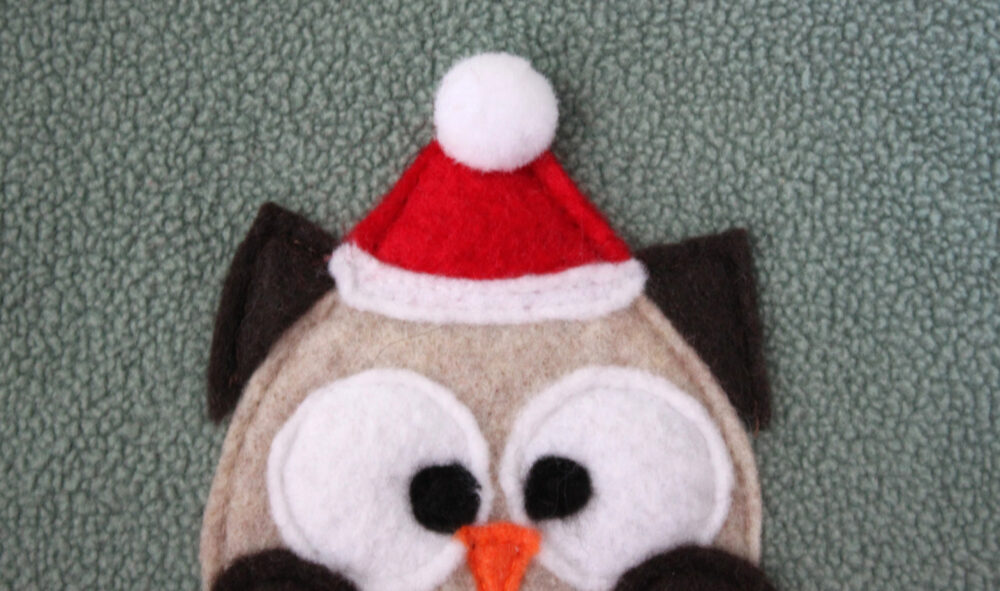
14. Hand-sew a white seed bead to the inner edge of each PUPIL. 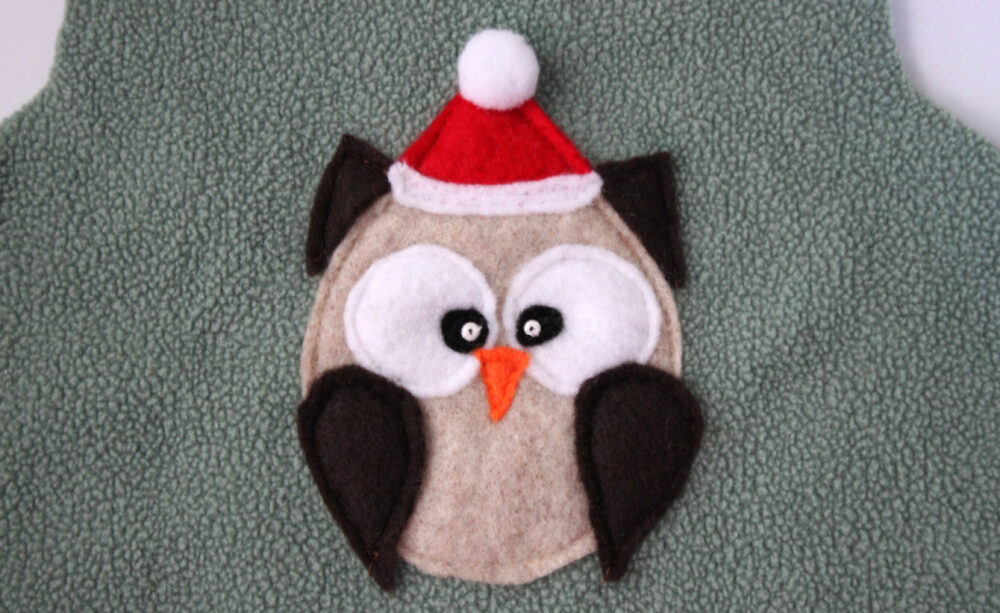
15. Your OWL is complete! Proceed as indicated in your pattern instructions to complete your Too Cute to be Ugly Sweater! 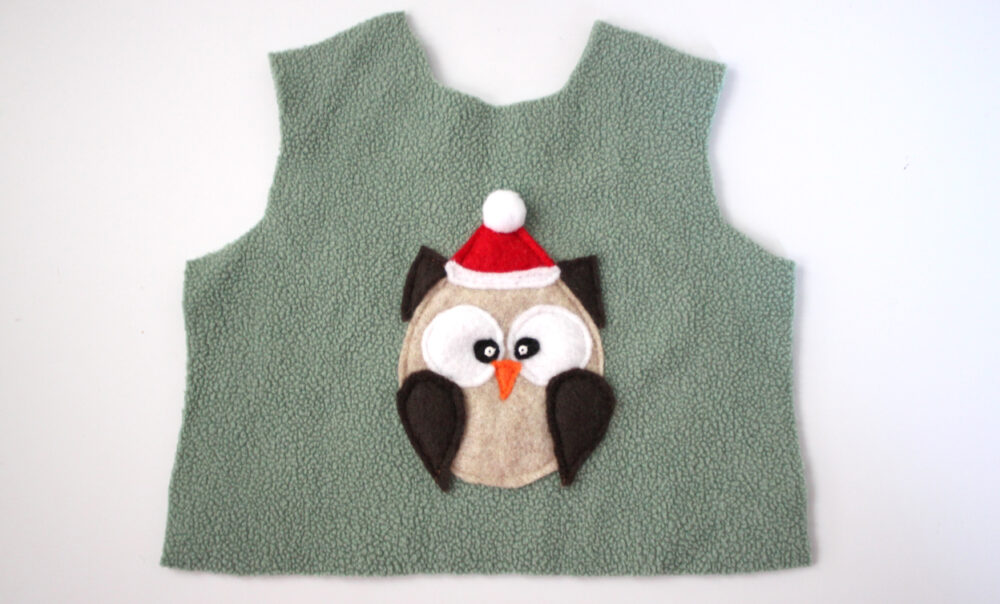

Permission to Get Creative …
- Use our Owl Applique pattern to dress up other holiday items for your doll, such as a pillow, blanket or scarf.
- Print the template slightly larger and use it to applique items for yourself or your child!
Matilda’s Closet and AptOne8 are not affiliated with American Girl® or Mattel®. No endorsement is implied.
0 Comments